Hur registrerar jag traktamente? (Nya appen)
Table of Contents
Den här artikeln avser följande länder
- Alla länder
Klicka på flikarna nedan för att lära dig hur du registrerar ett traktamente i appen eller på webben.
Webb
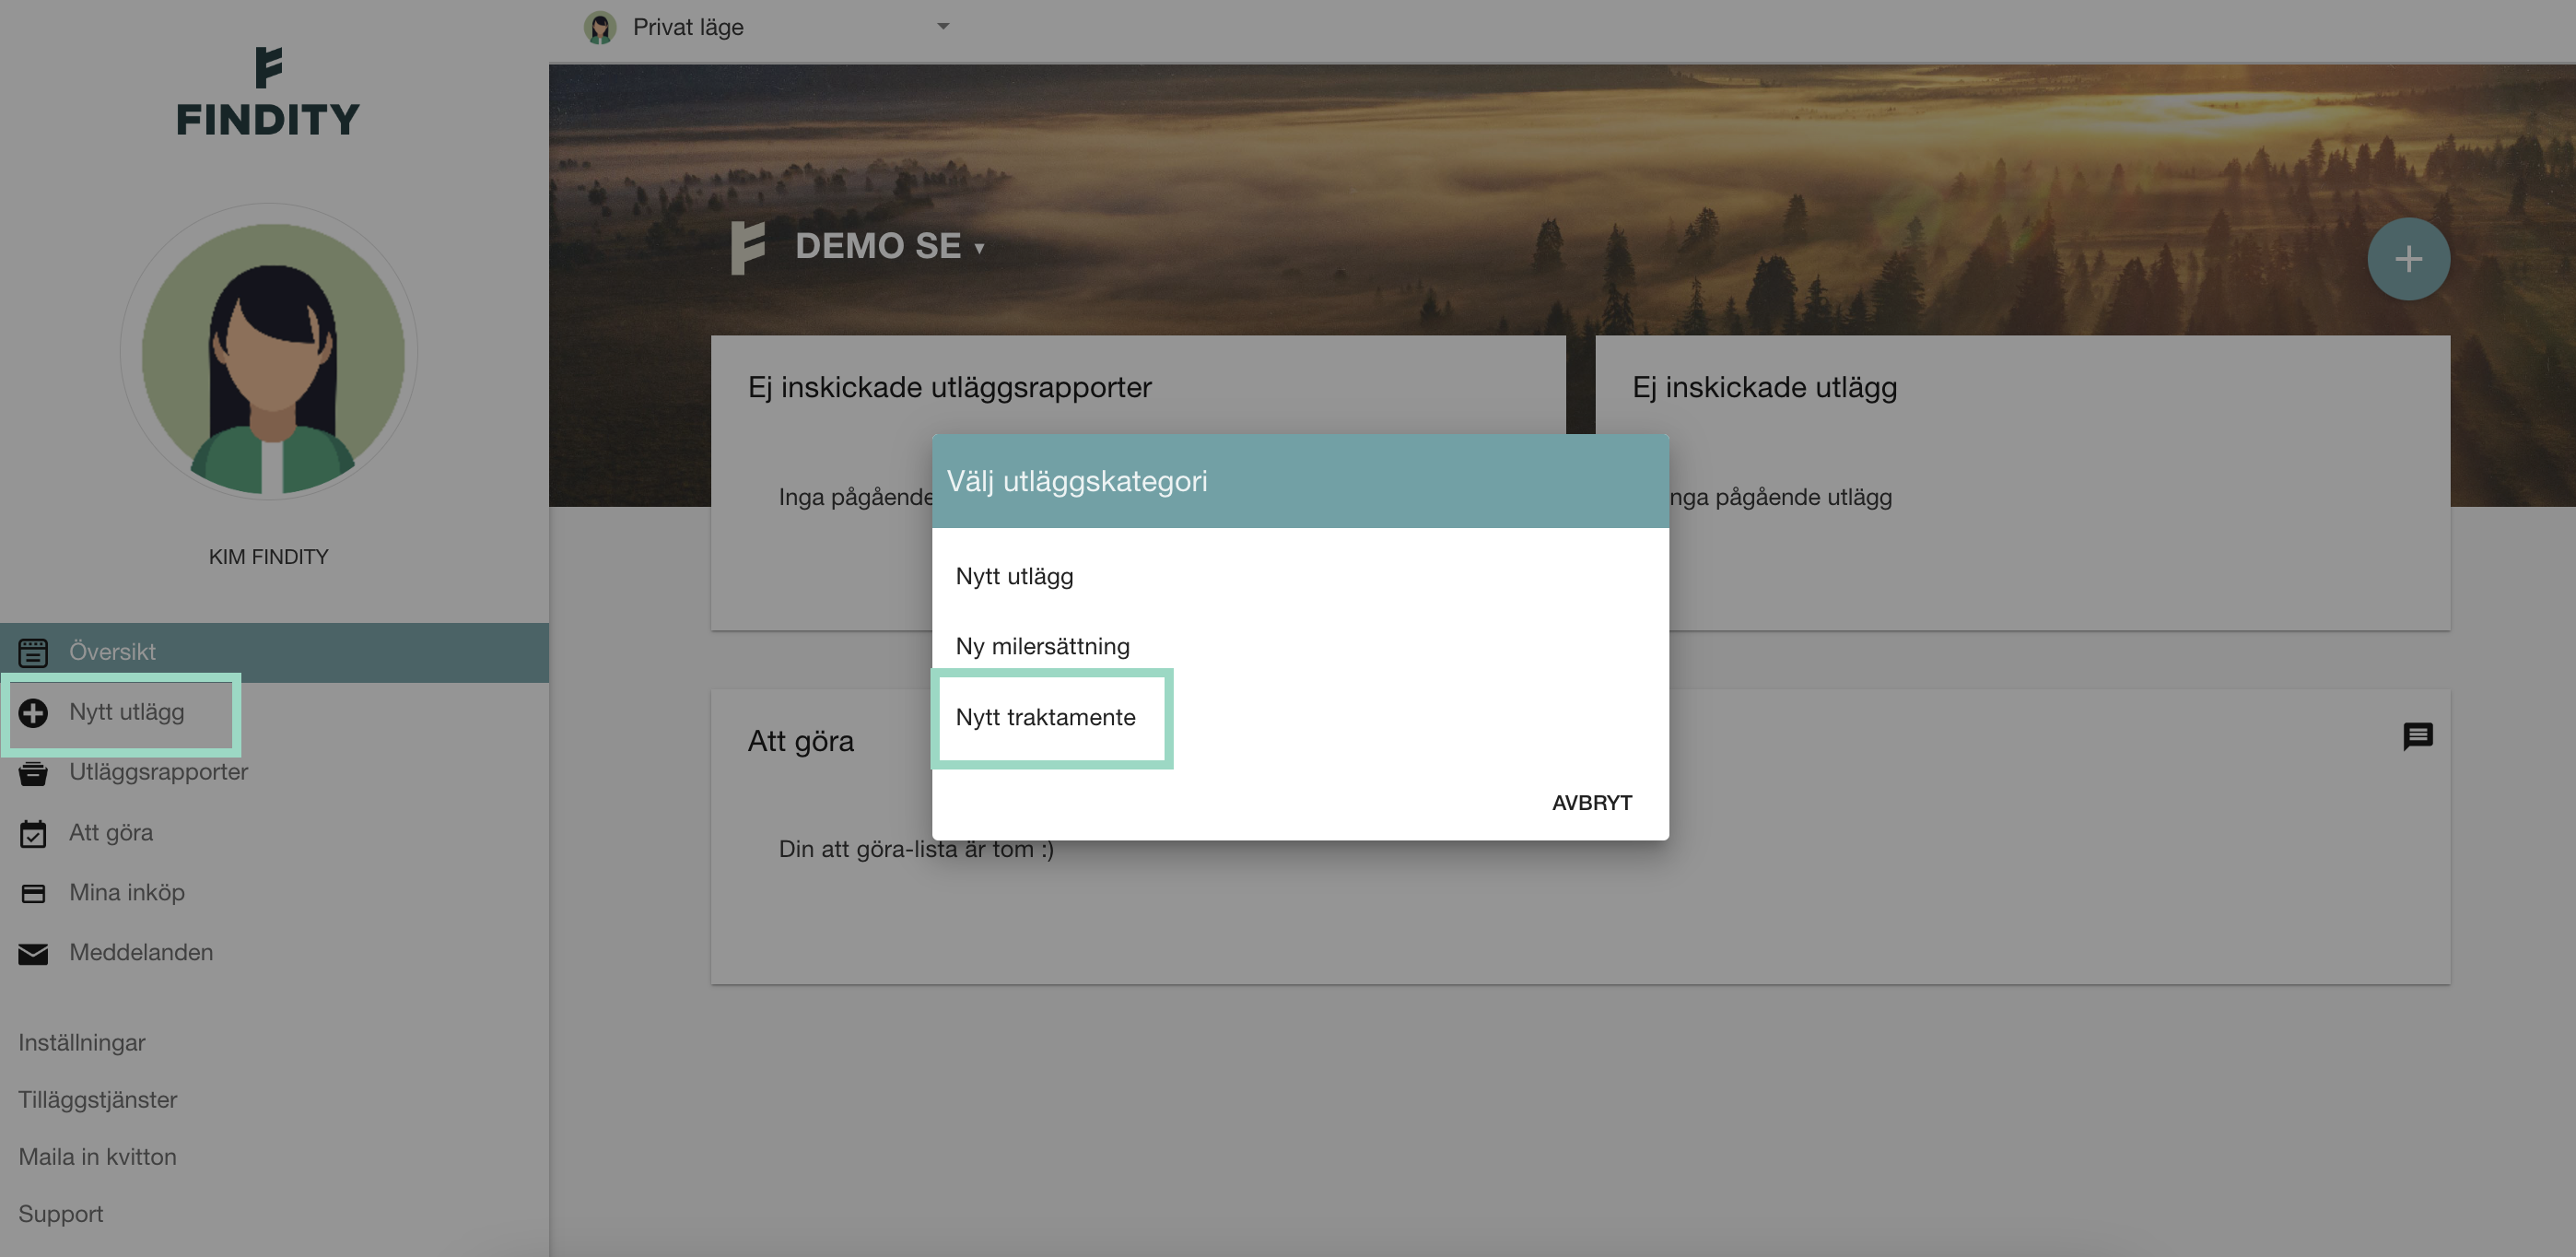
Klicka på Nytt utlägg och välj sedan Nytt traktamente.
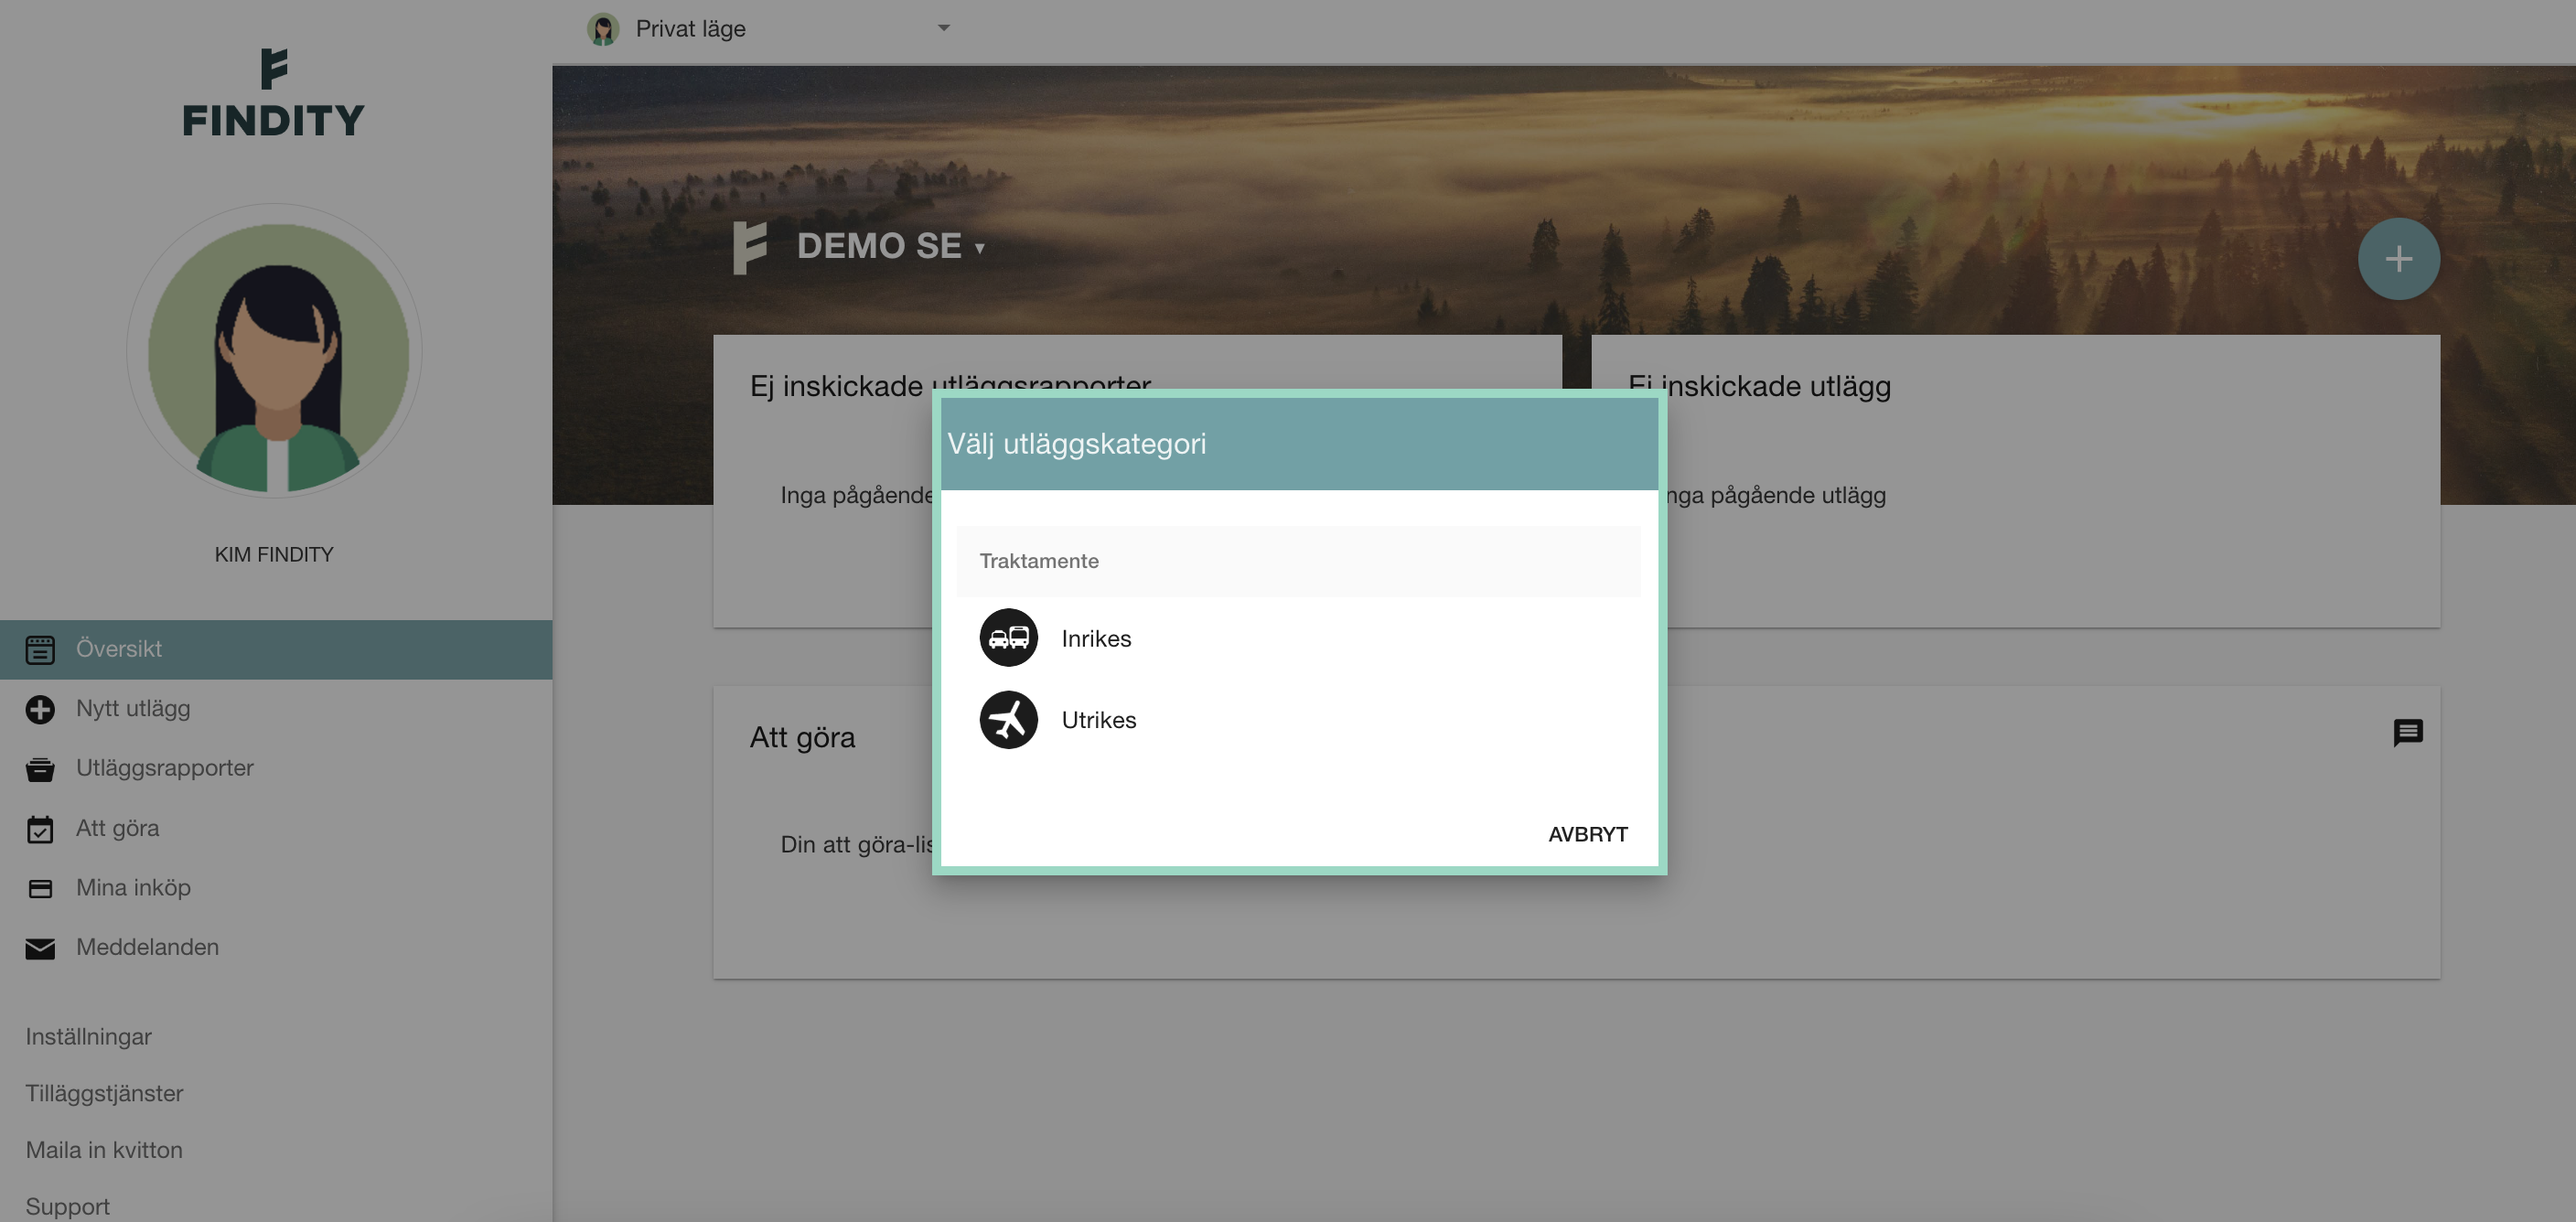
Välj om det är ett Inrikes- eller ett Utrikestraktamente.
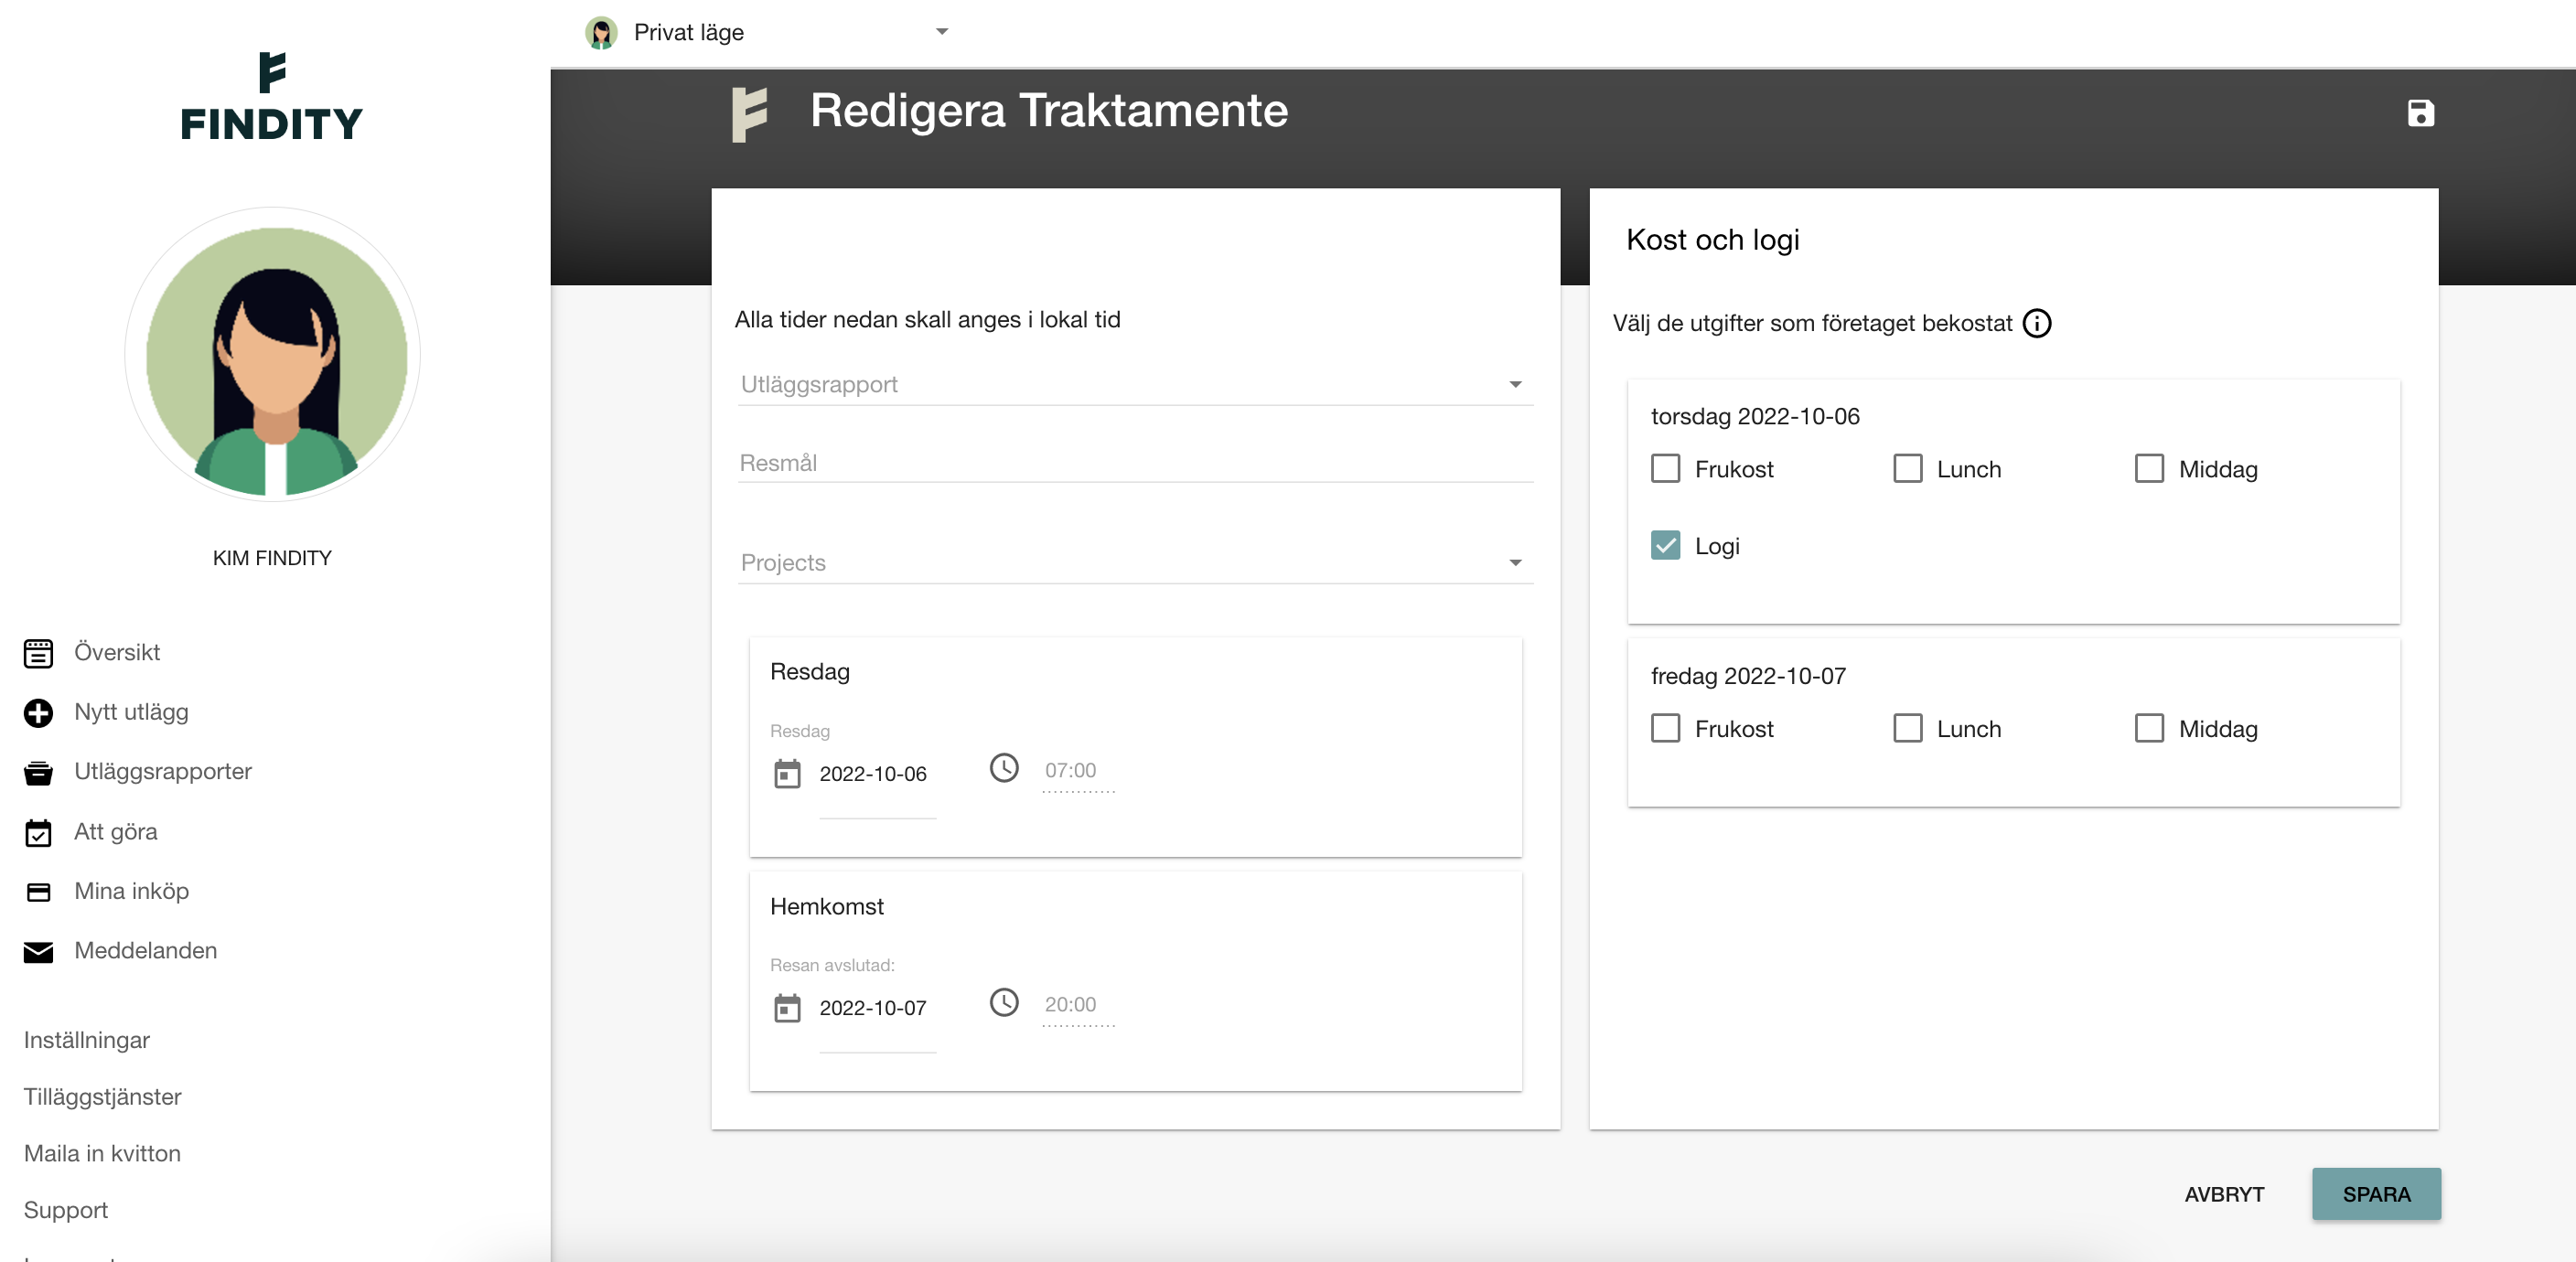
Inrikes traktamente
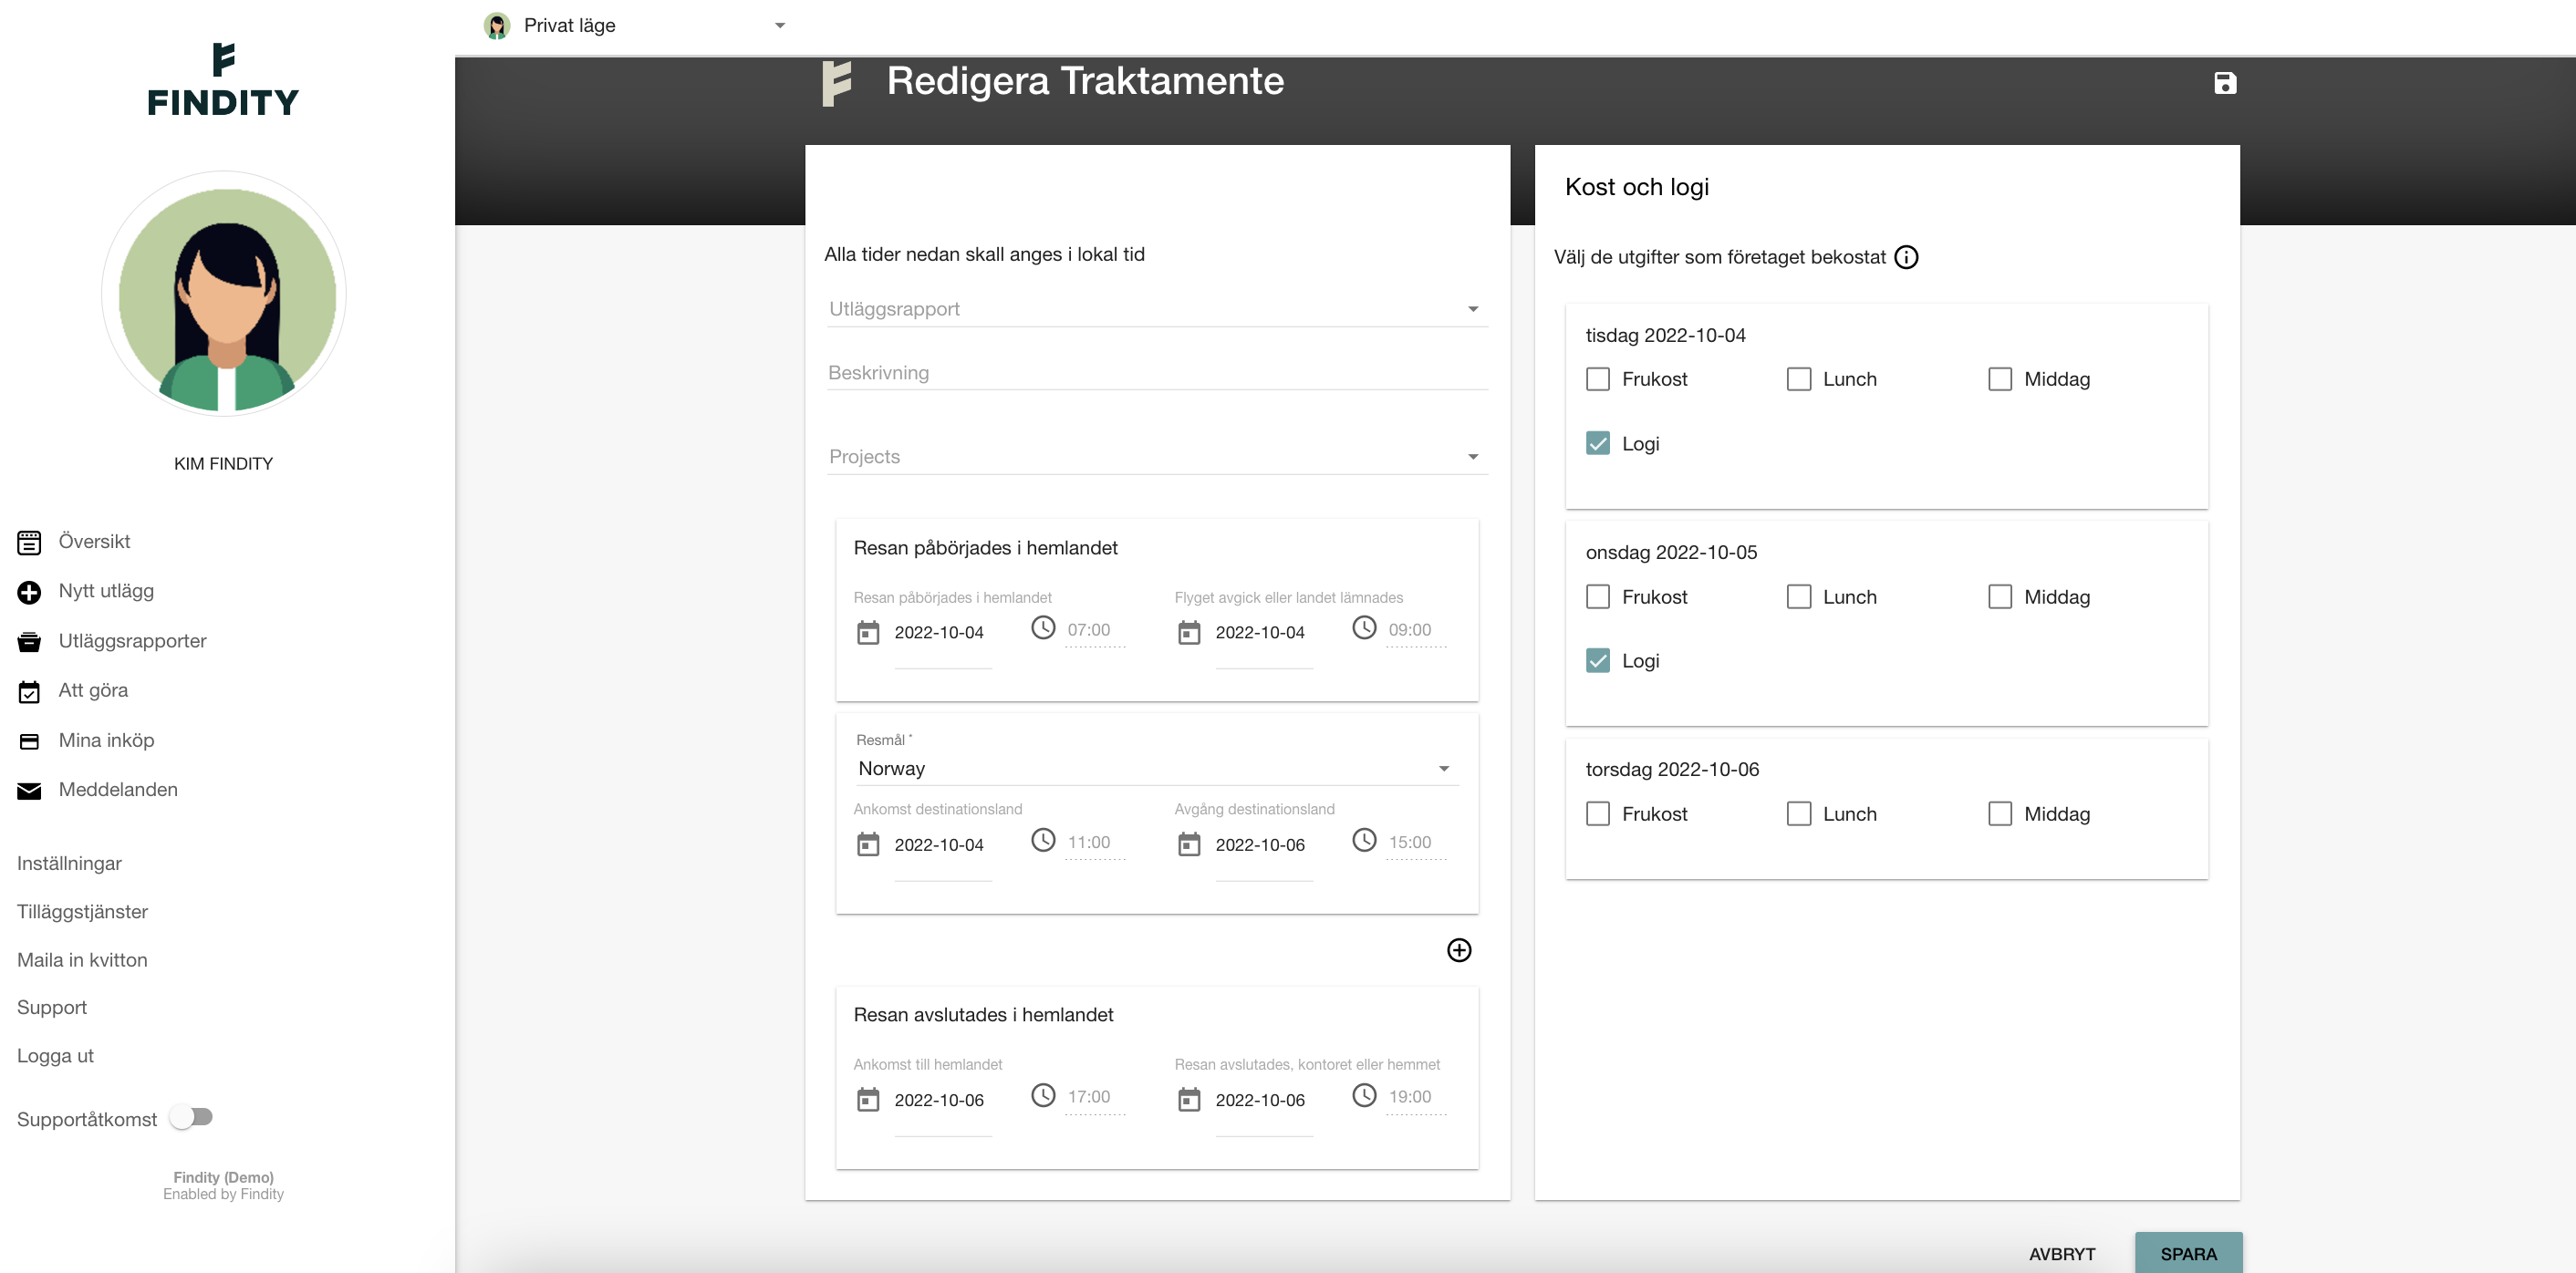
Fyll i datum och tider för din resa och klicka på Spara när du är klar med ditt traktamente.
Utrikes traktamente
Fyll i datum och tider för din resa. Du måste också lägga till Resmål vid ett utrikestraktamente.
Klicka sedan på Spara när du är klar med ditt traktamente.
App
Klicka på plustecknet längst ned i mitten och välj Traktamente.

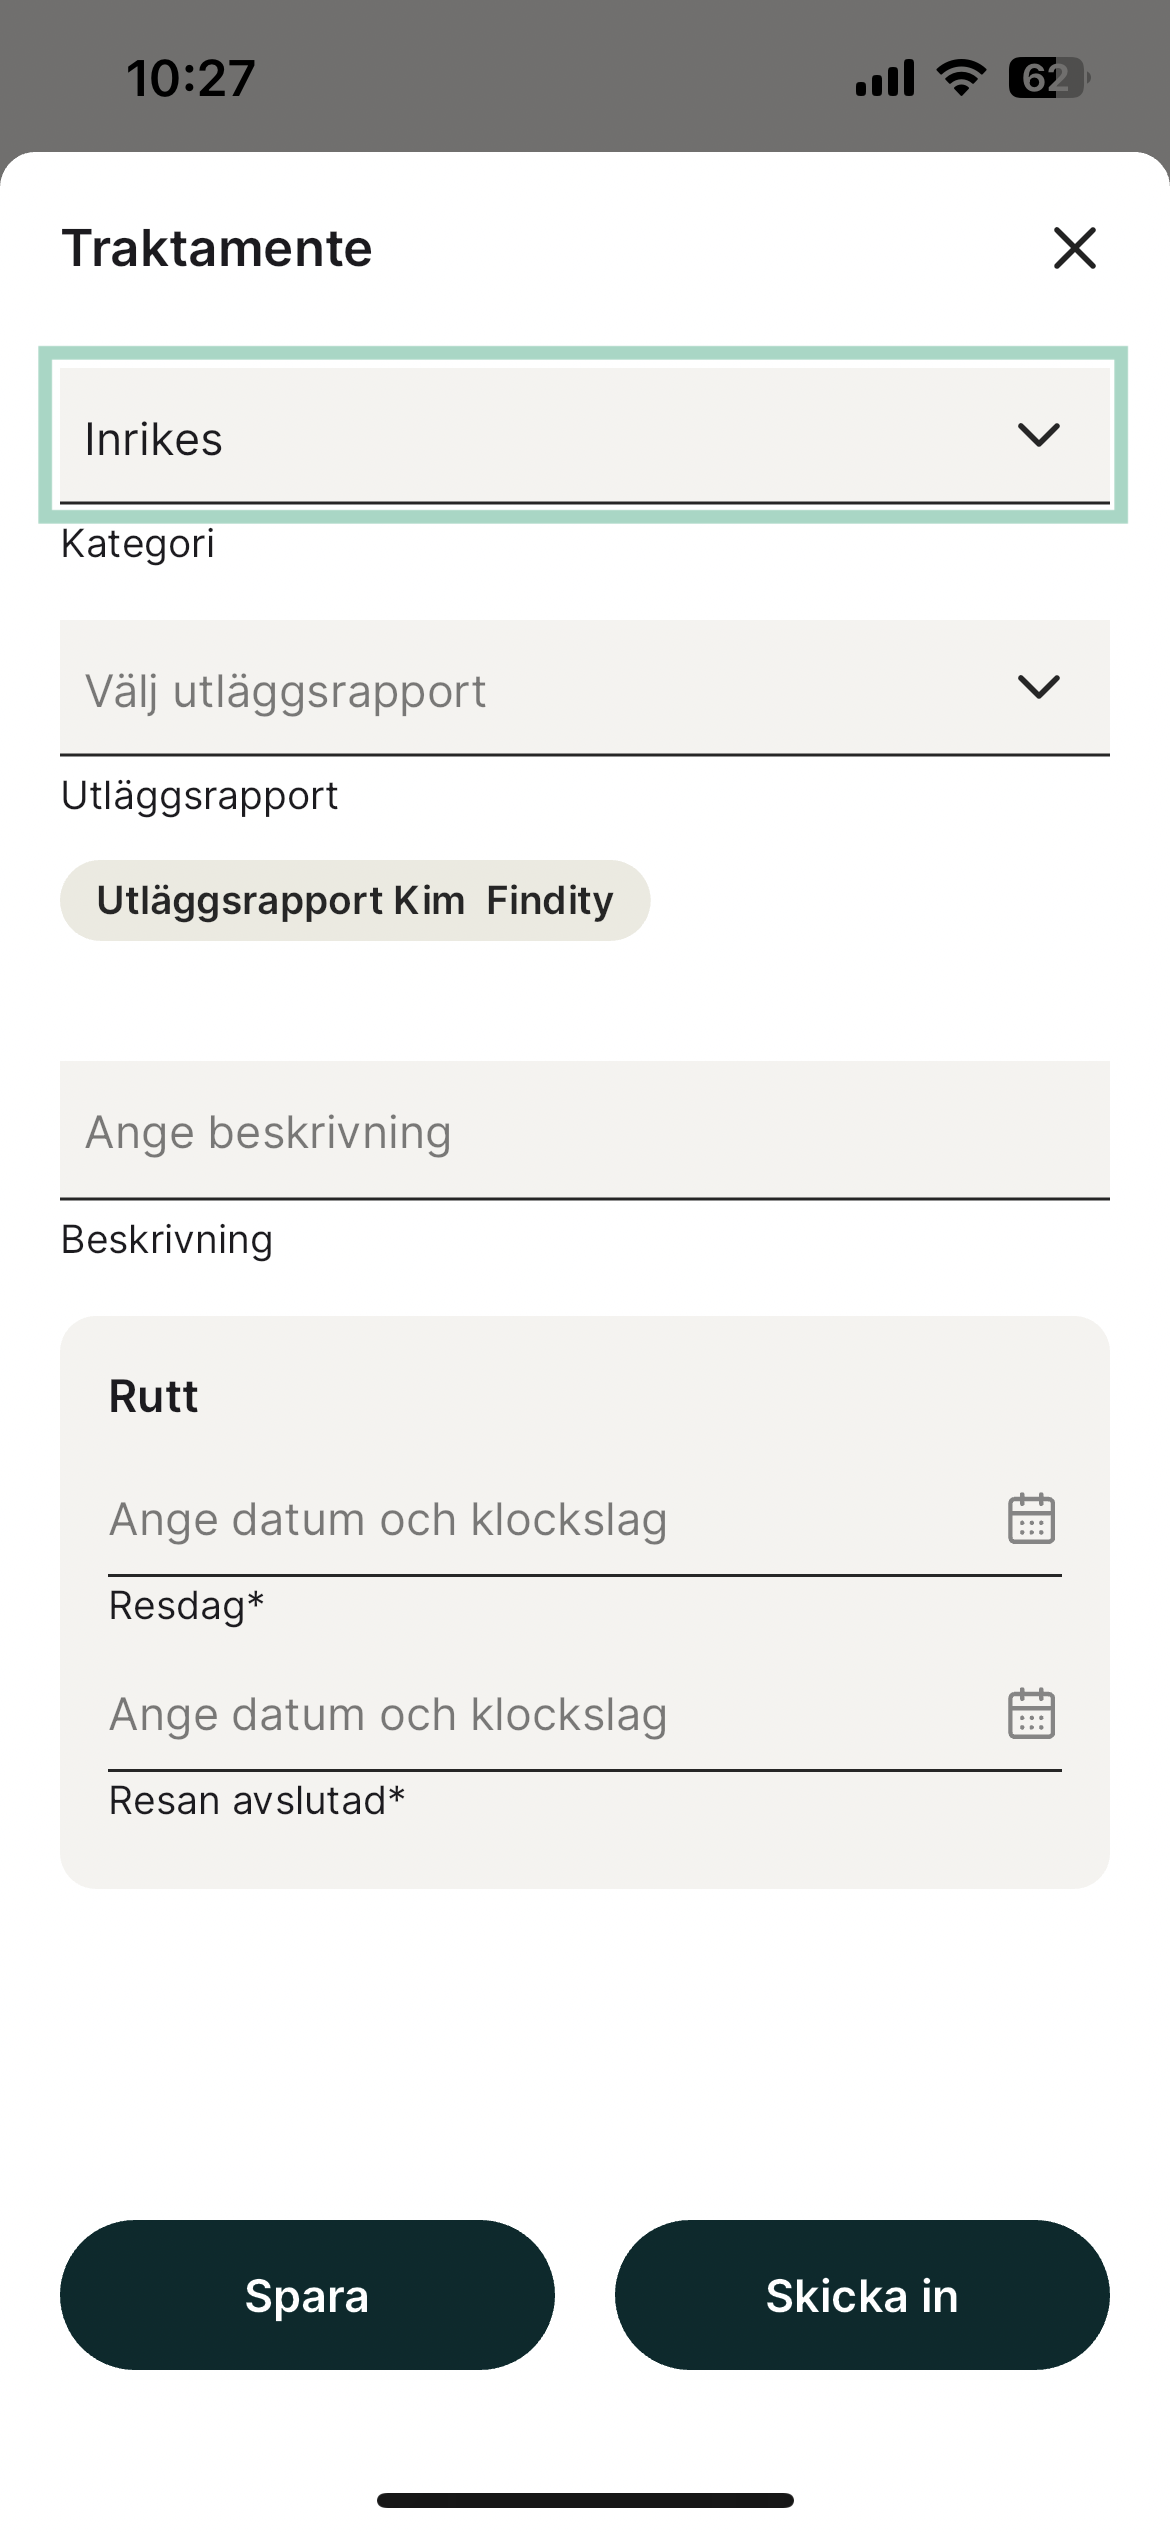
Klicka in dig i fältet högst upp för att välja mellan Inrikes eller Utrikestraktamente.
Inrikes traktamente
Under fältet Rutt, klicka på raden Resdag och välj vilket datum och tid resan började.
Vid Resan avslutad klickar du för att fylla i datum och tid när resan avslutades. För att spara ditt traktamente så klickar du på Spara nere till vänster i rutan. Beroende på hur din organisations inställningar ser ut så kan du också välja att skicka in ditt traktamente direkt från denna vy utan att spara ned det och lägga till det i en rapport.

Utrikes traktamente
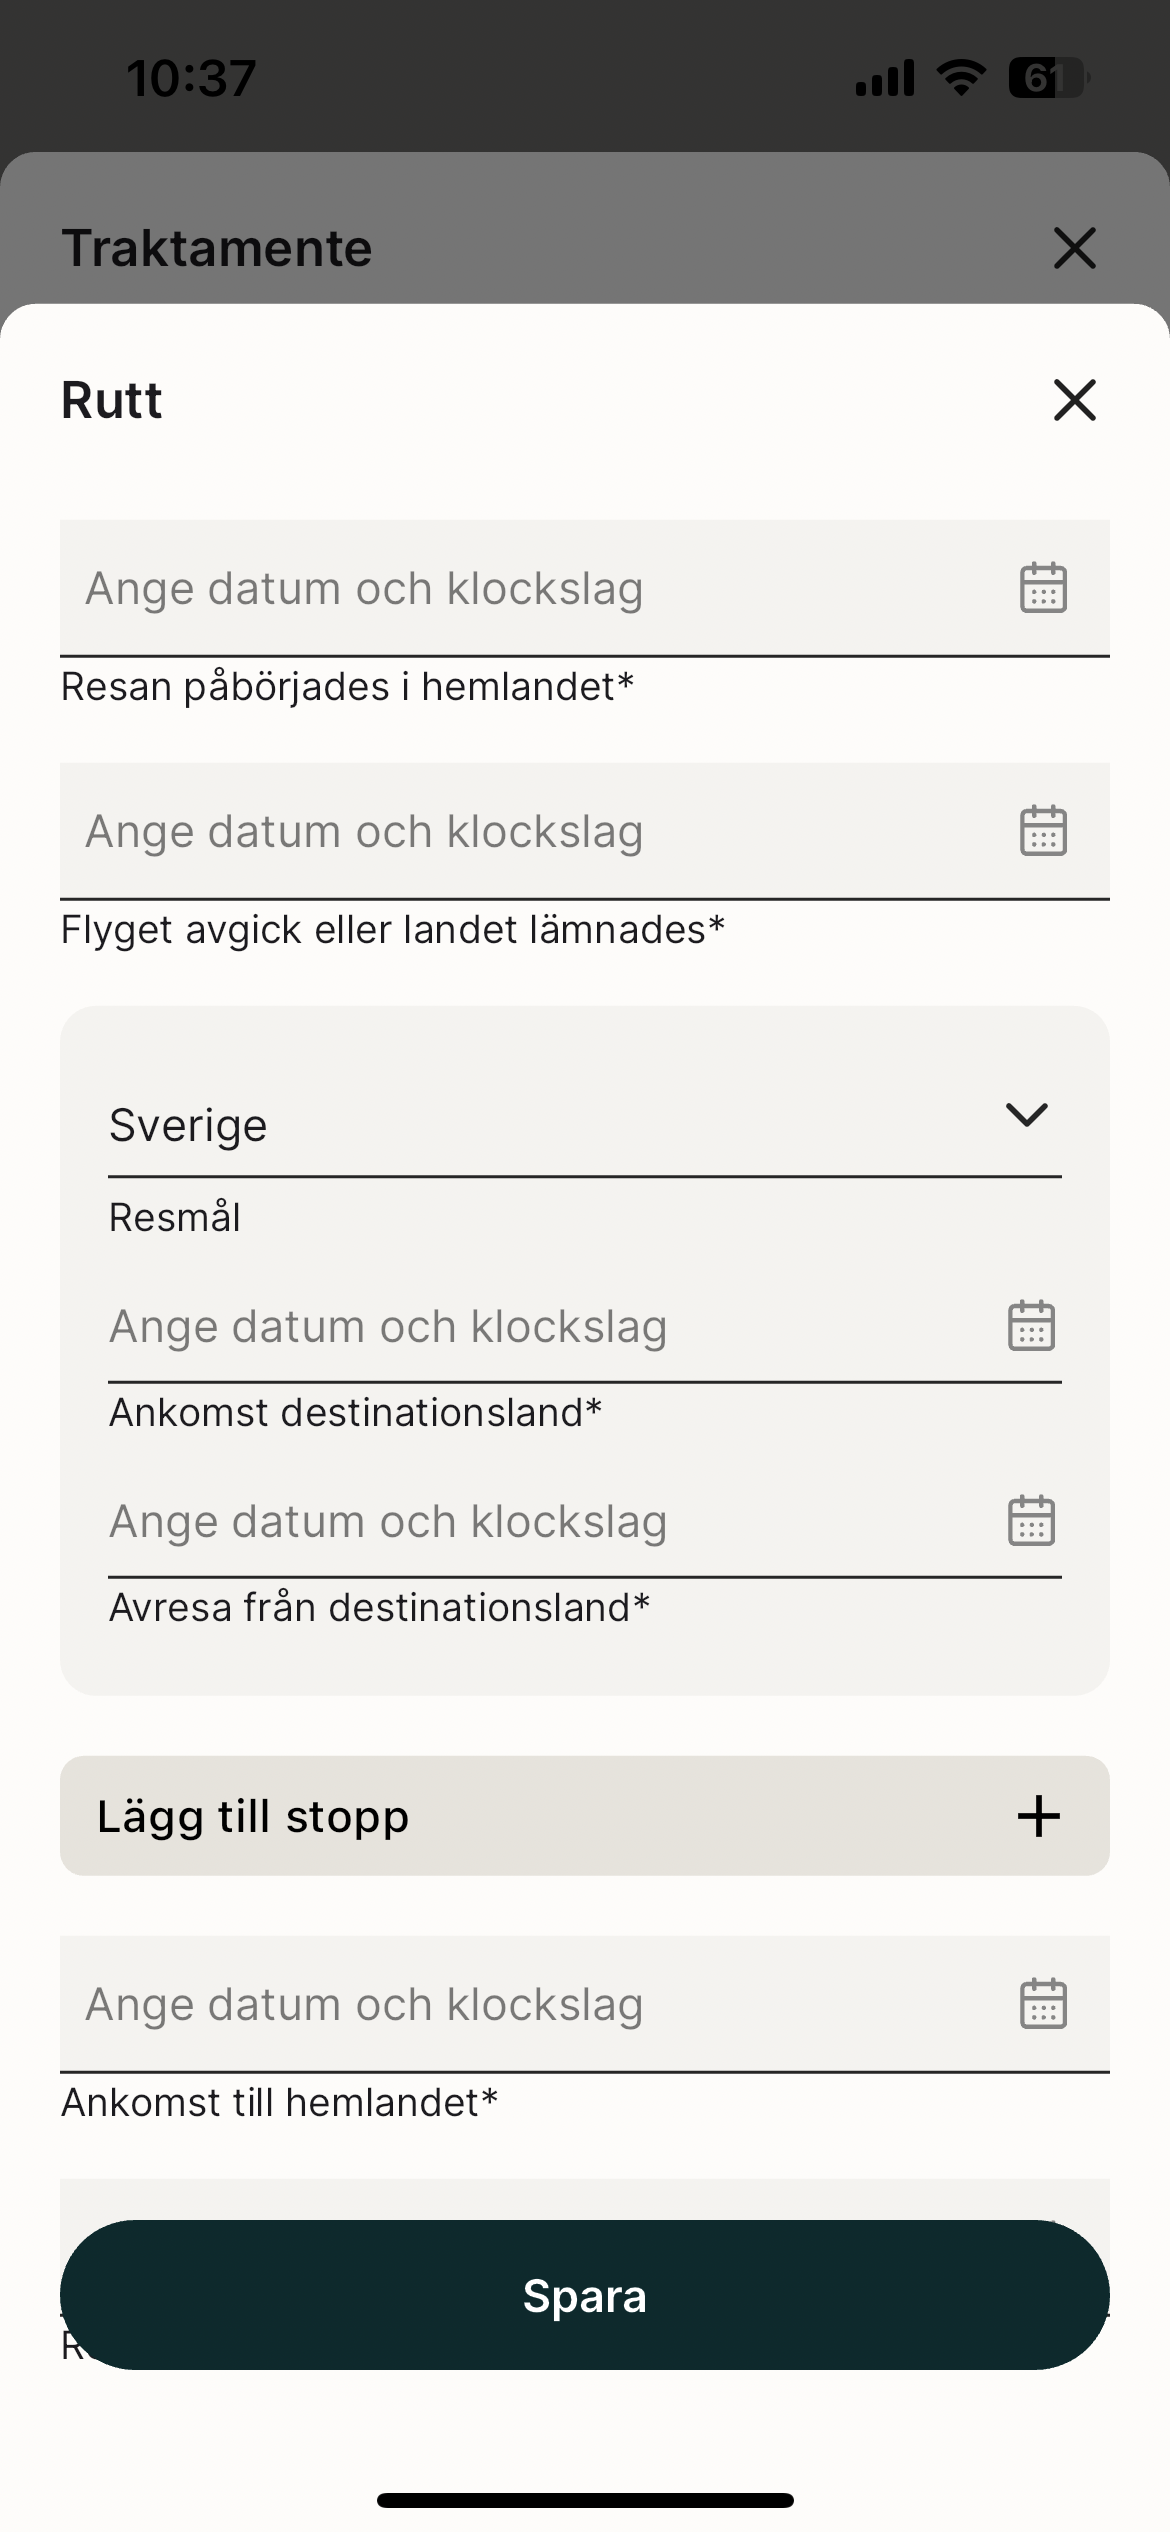
Klicka i fältet Rutt längst ned i traktamentet. Fyll i vilket datum och vilken tid som resan påbörjades och avslutades. Du behöver också fylla i Resmål vid utrikes traktamente. För att spara ditt traktamente så klickar du på Spara längst ned.
Precis som vid ett inrikes traktamente kan du efter att du fyllt i din rutt välja att antingen spara ditt traktamente eller att skicka in det till din organisation.

