Activate fuel benefits
Table of Contents
This article describes how you can activate the function Fuel benefits on your organisation.
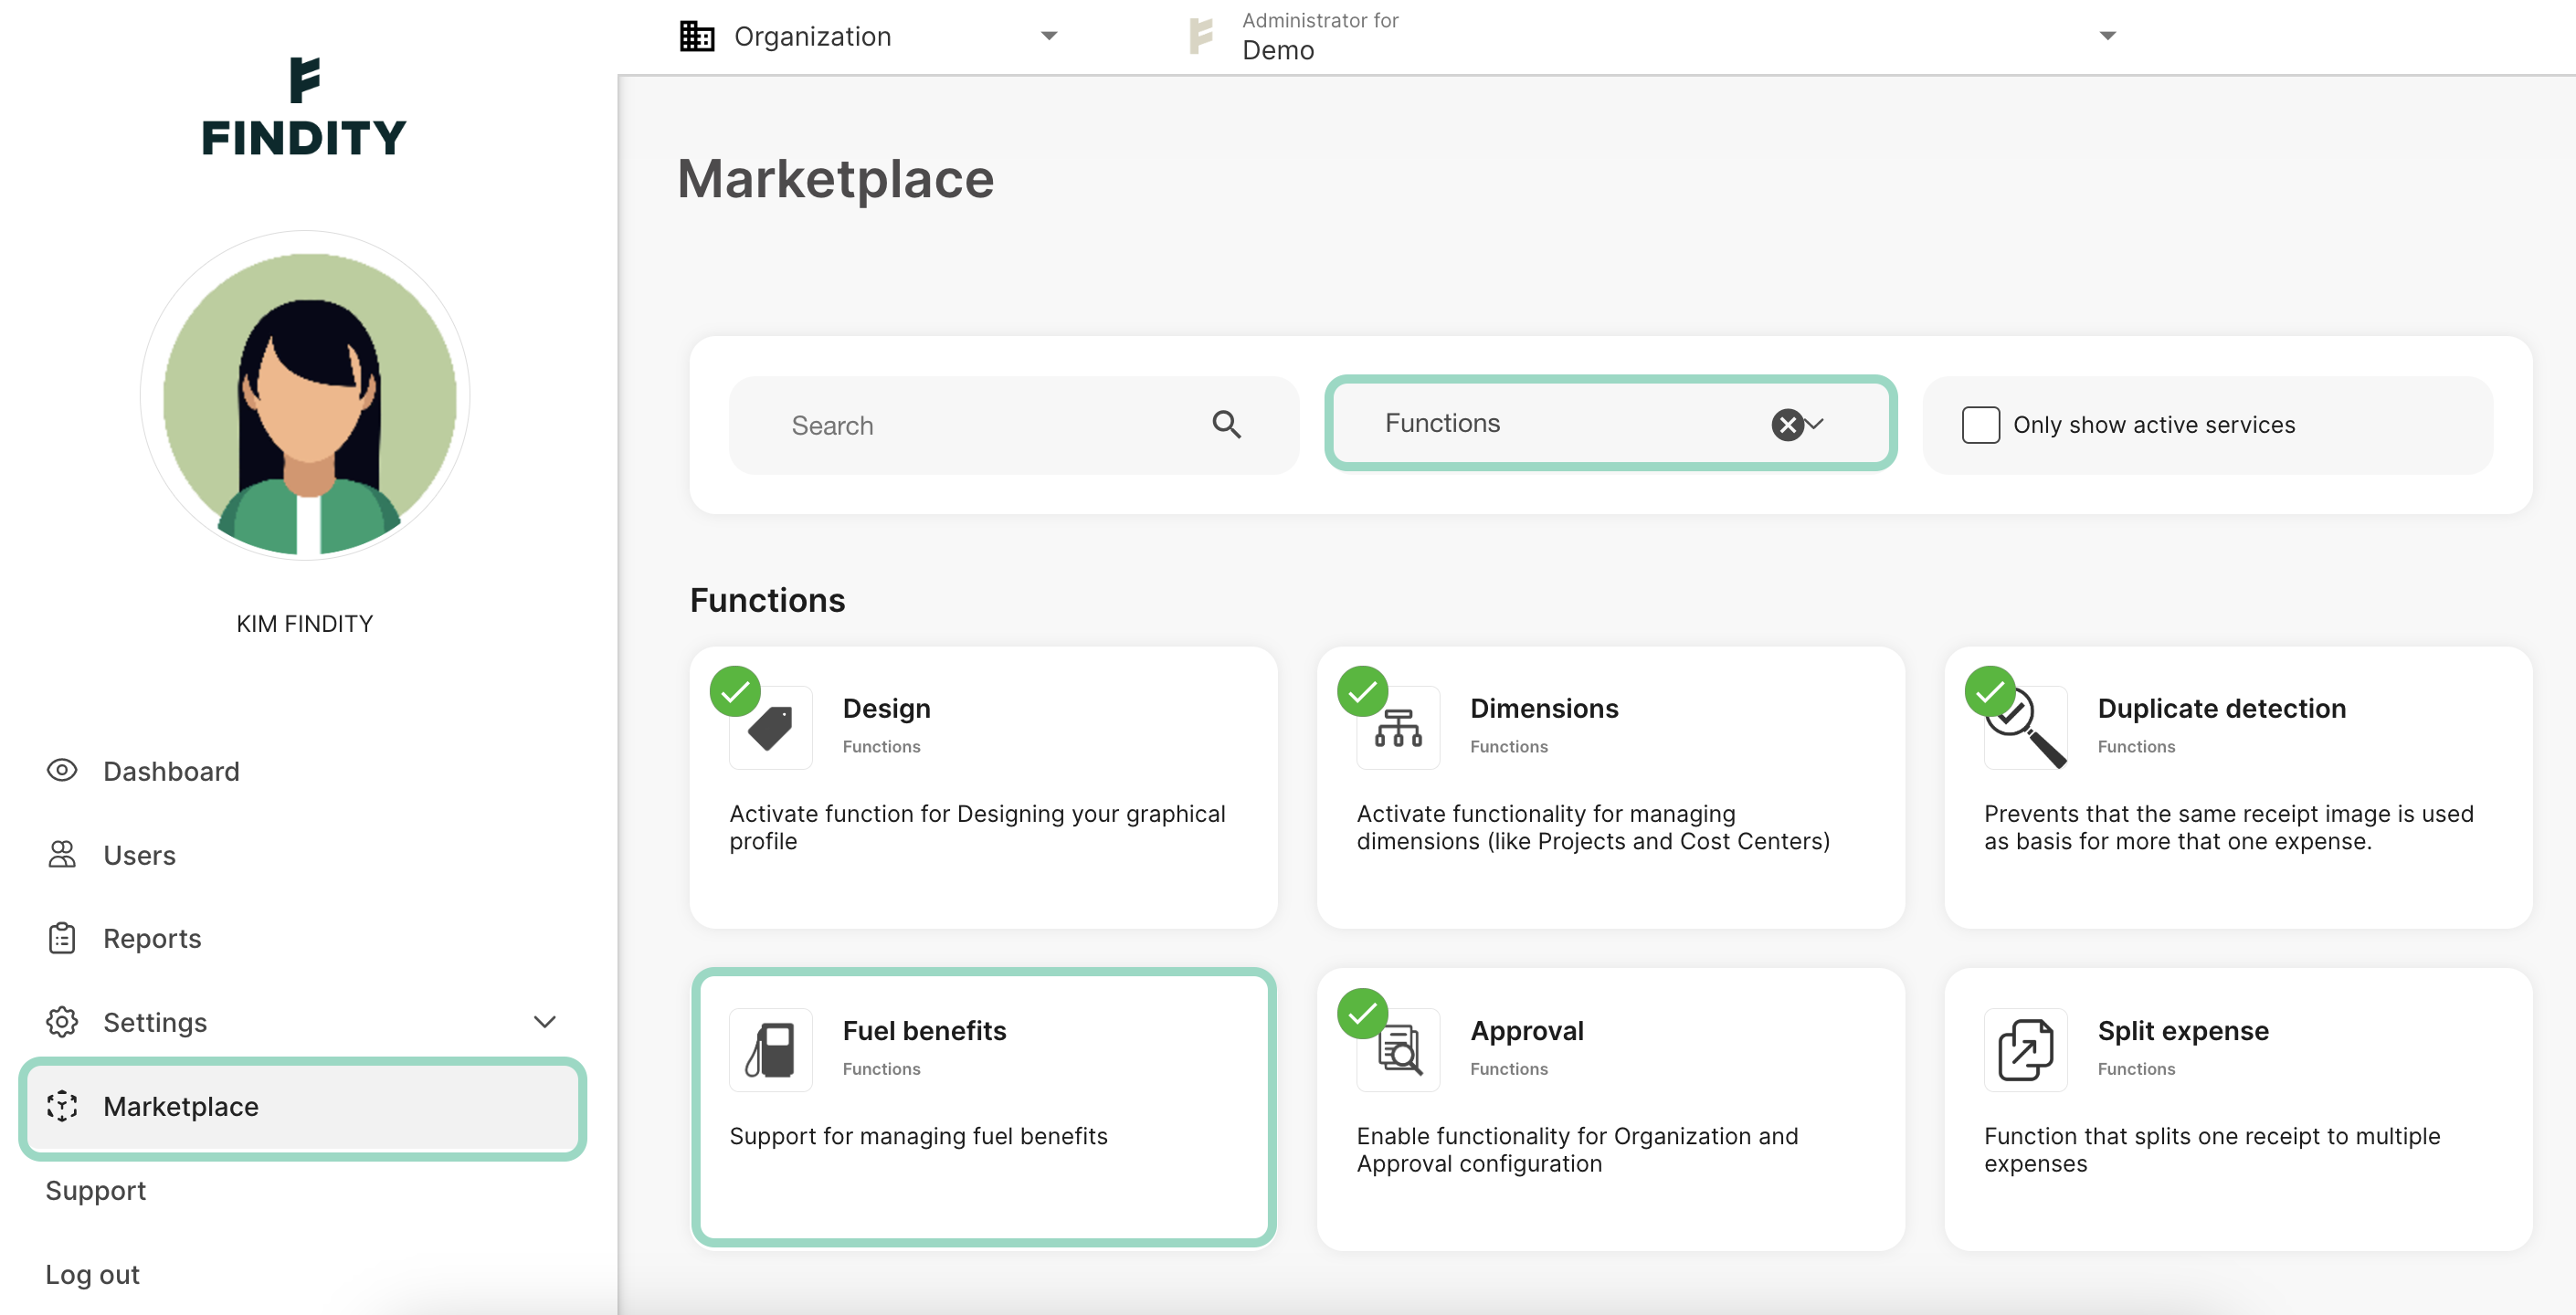
Go to the tab Marketplace and select the category Functions. Click on the box for Fuel benefits.
Choose to Activate service.
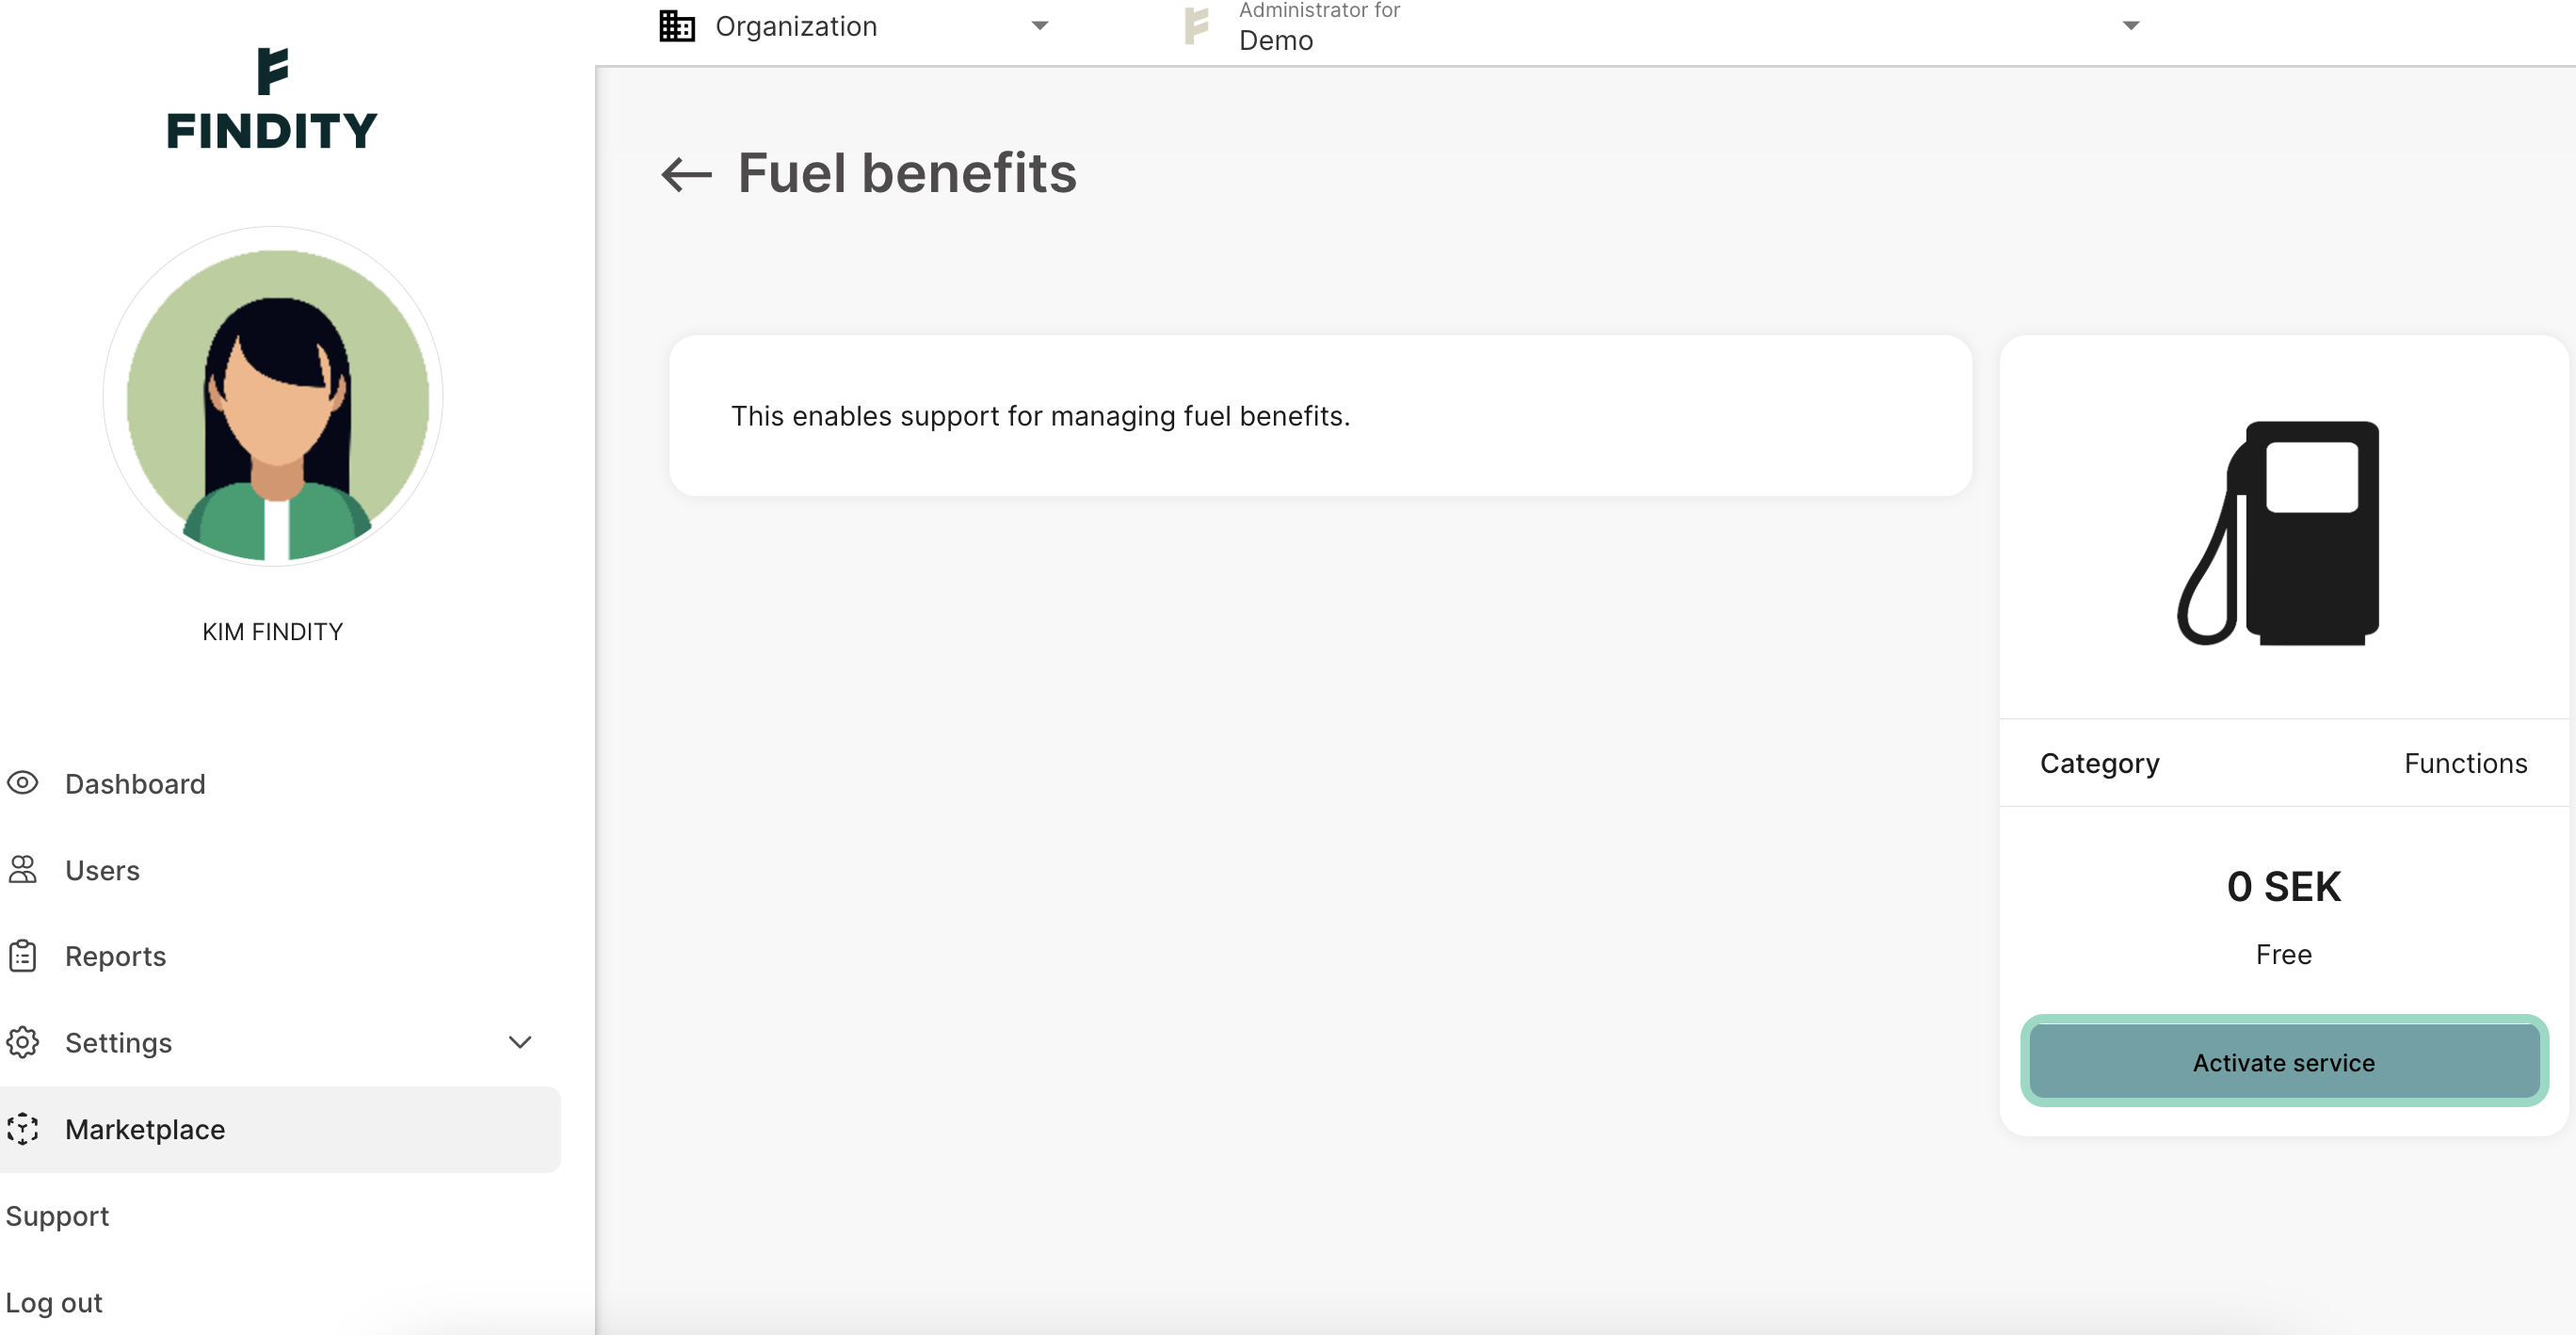
The function is now activated. We will move on to the settings now.
Go to the tab Settings - Expense management - Fuel benefits.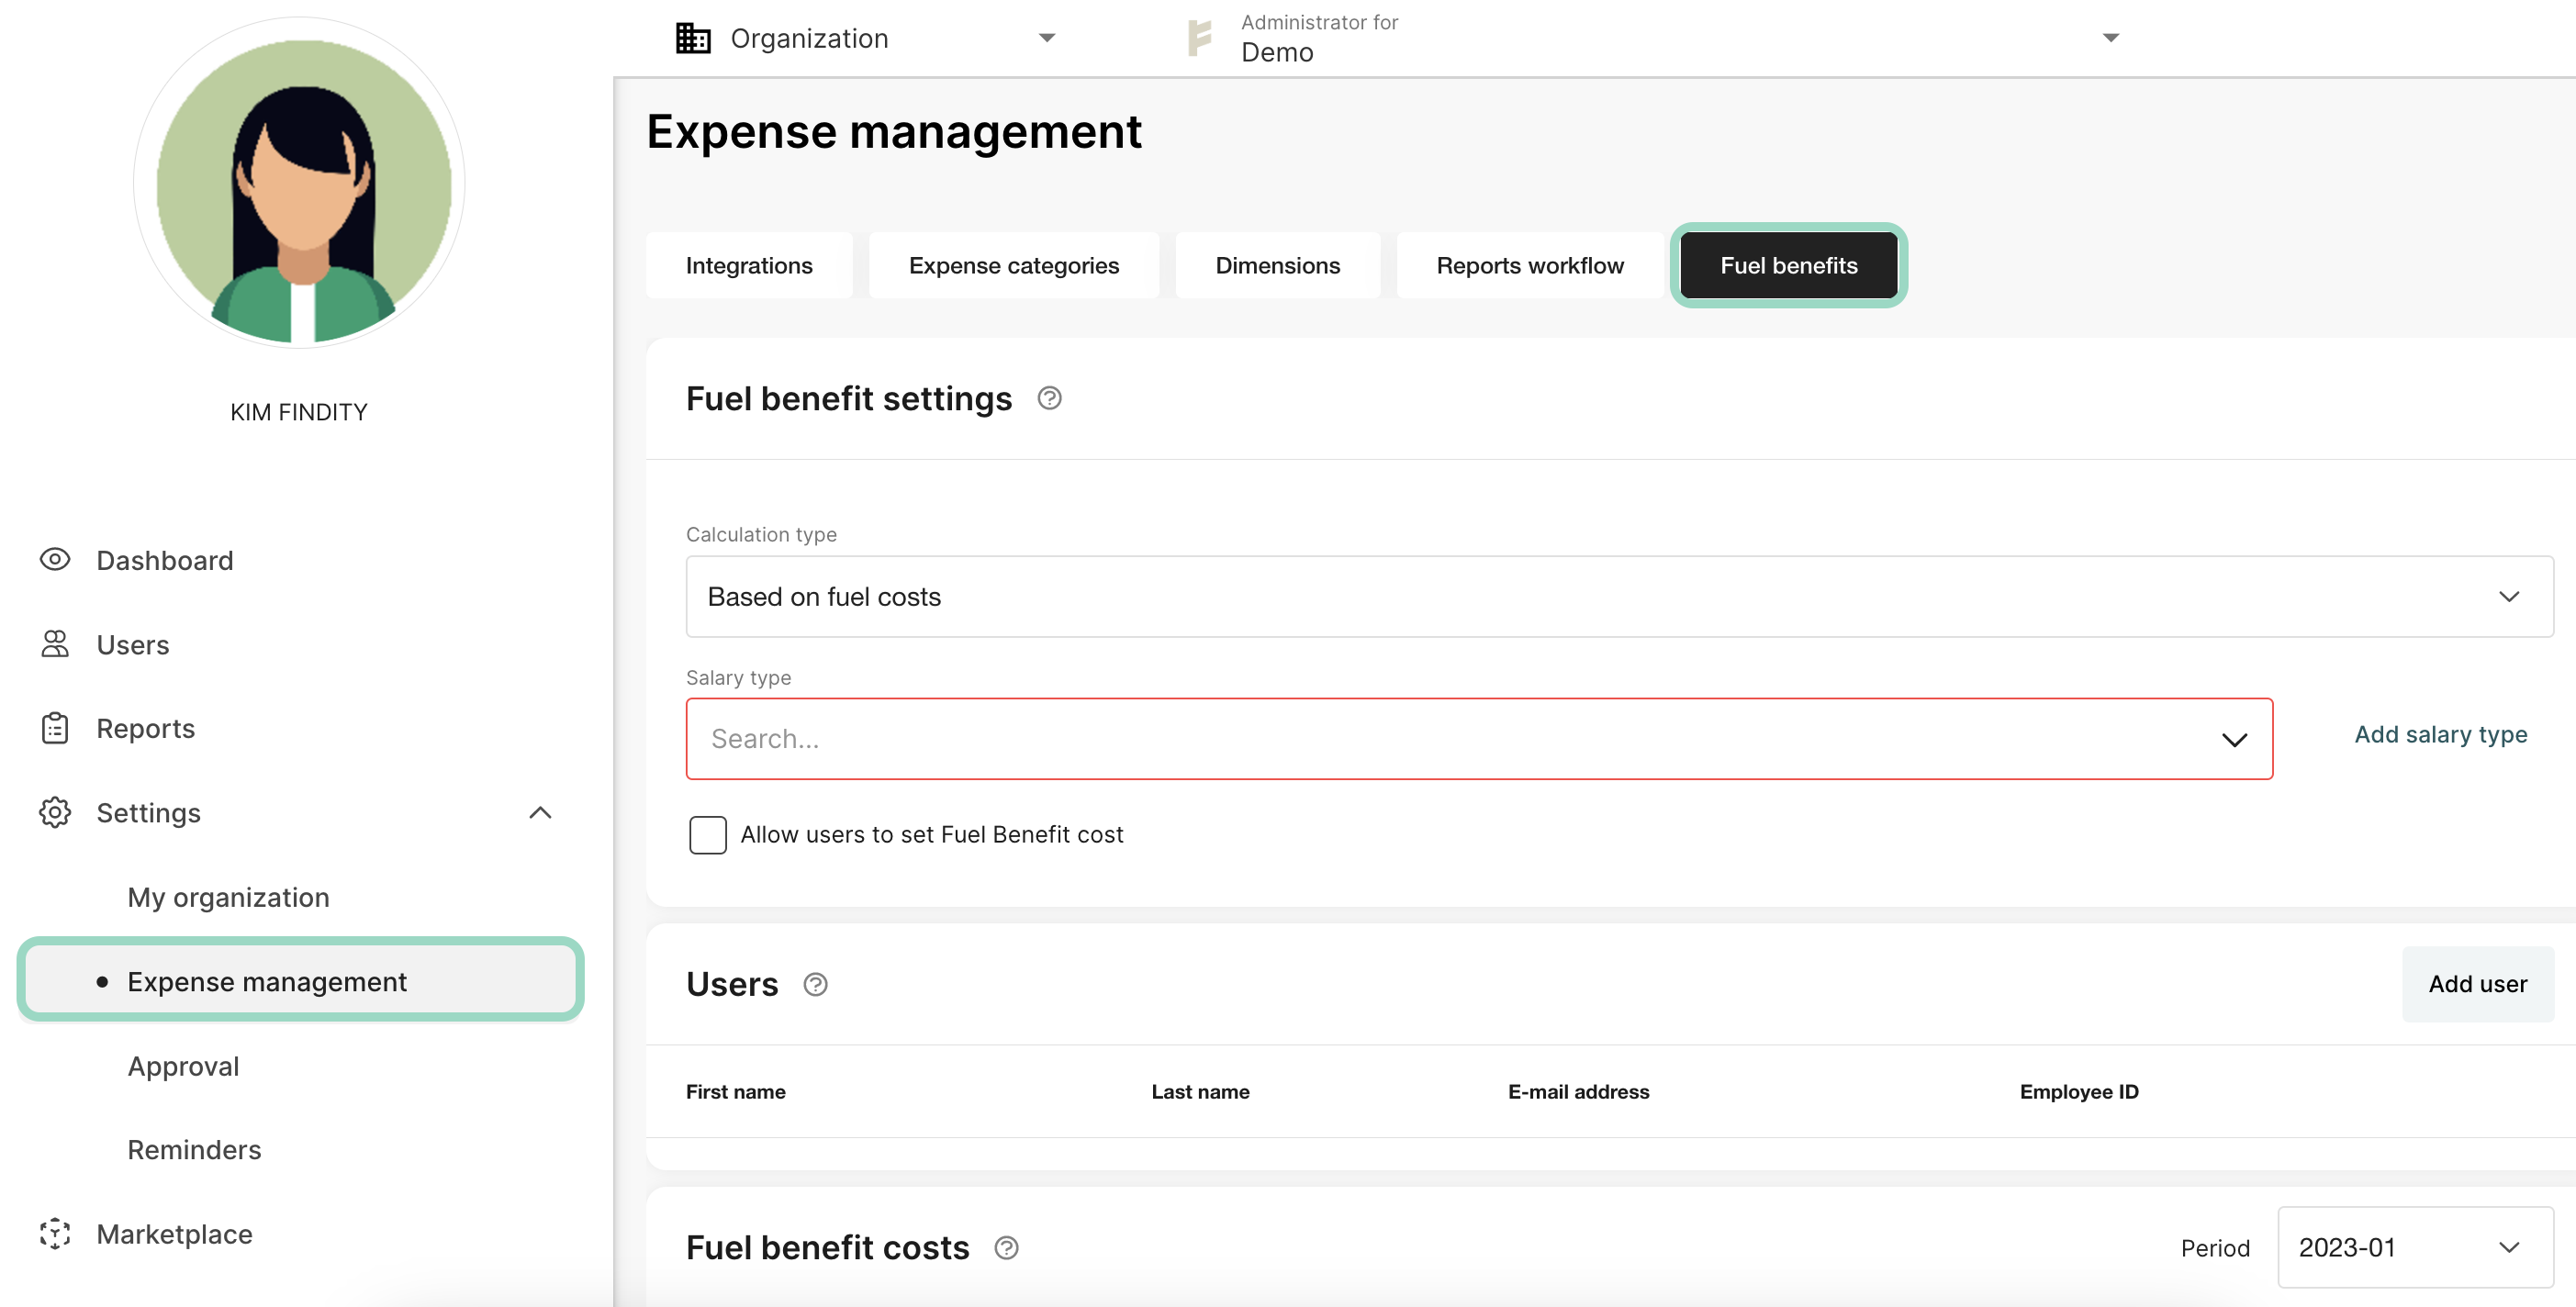
Fuel benefit settings
Go to the setting Calculation type. From the calculation type drop-down list, select Based on fuel costs or Standard calculation. In this example we have select the type Based on fuel cost. If you choose Standard calculation you need to enter the standard prices for each type of fuel and also add the users. 

Now, from the Salary code drop-down list, select the salary code. If you need to, you can add a new salary code. Press Save.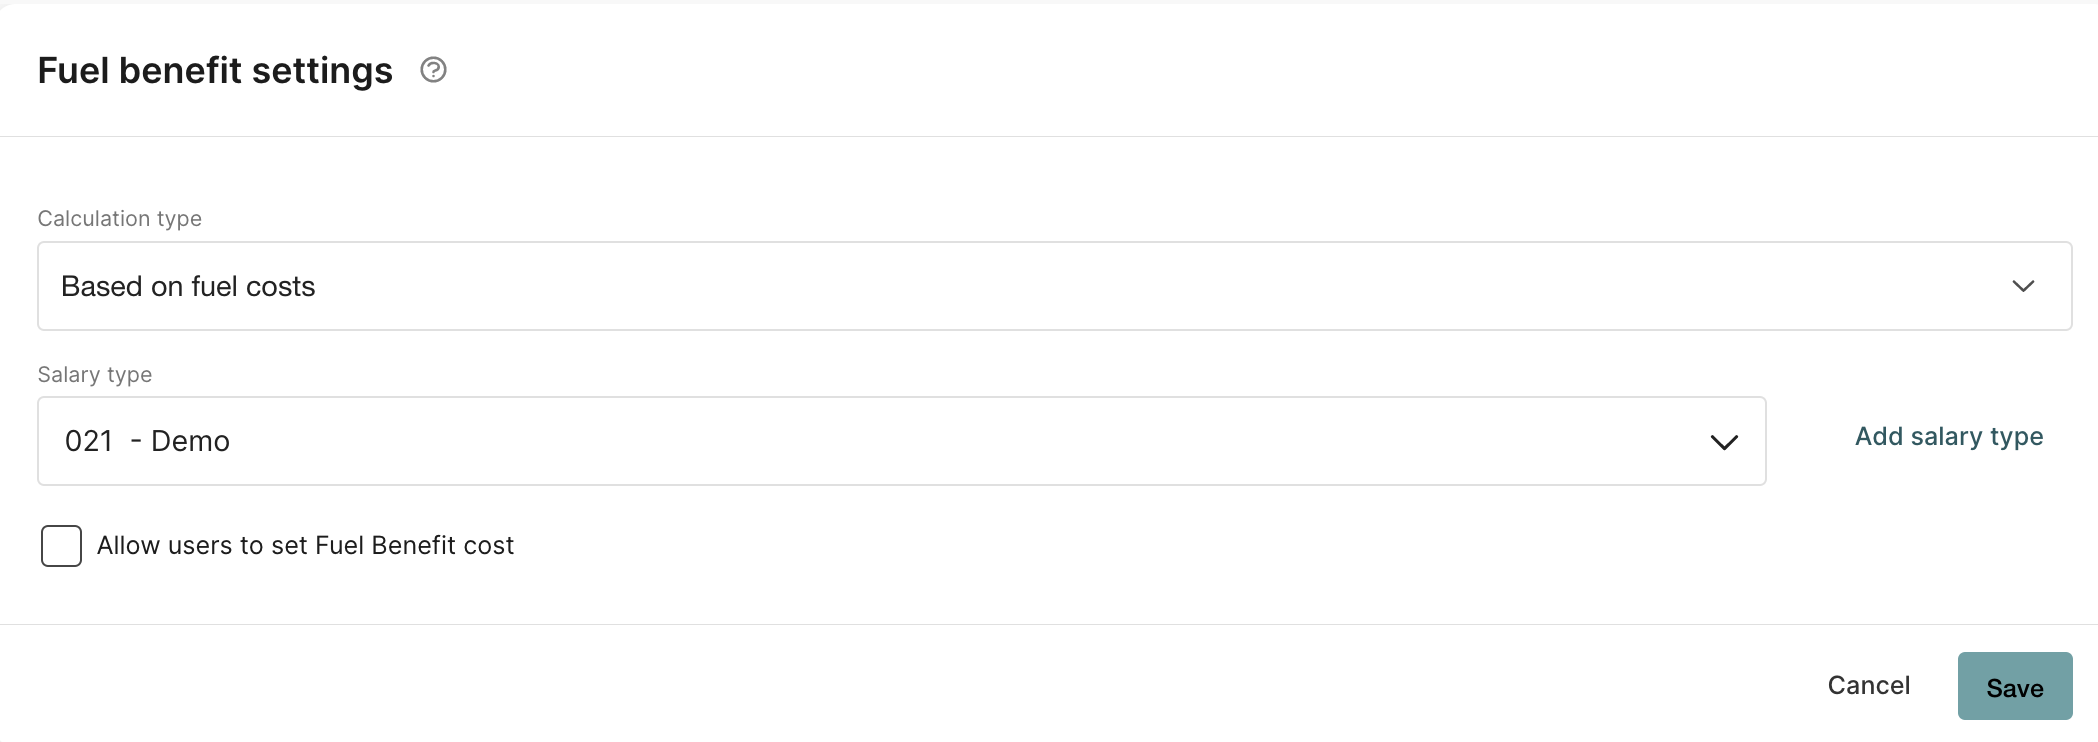
Users
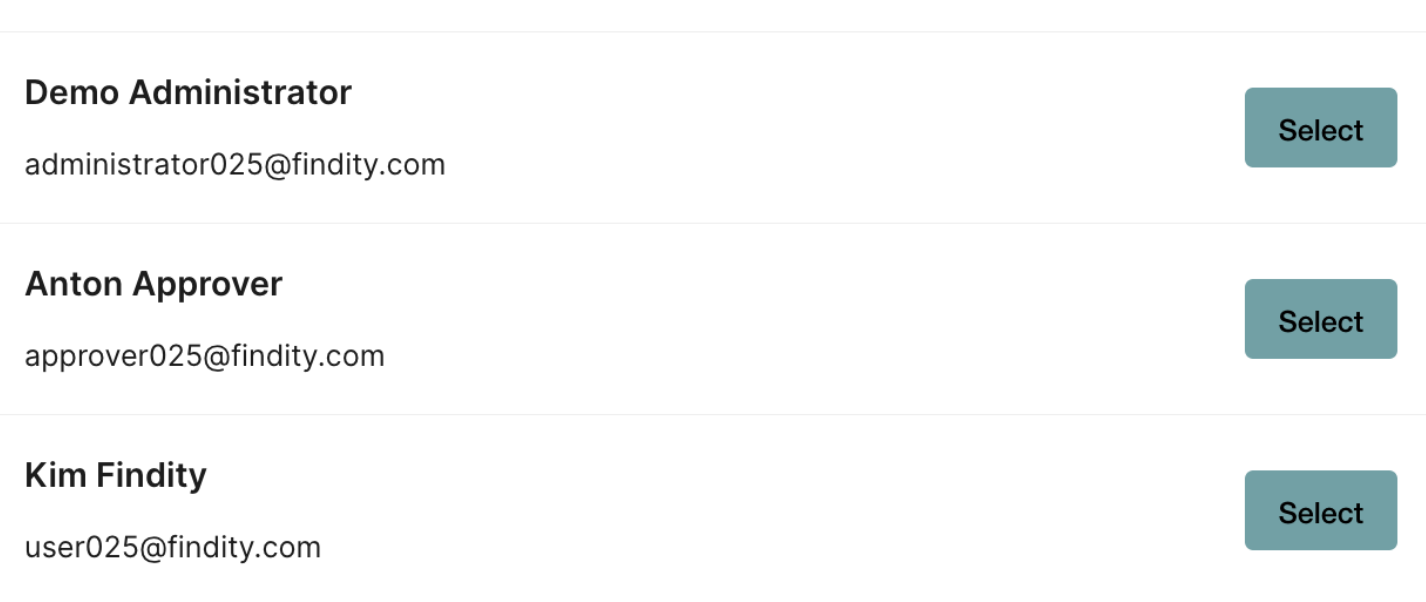
Now it's time to add the users who will report fuel benefits. Click on Add user and select a user from the list.

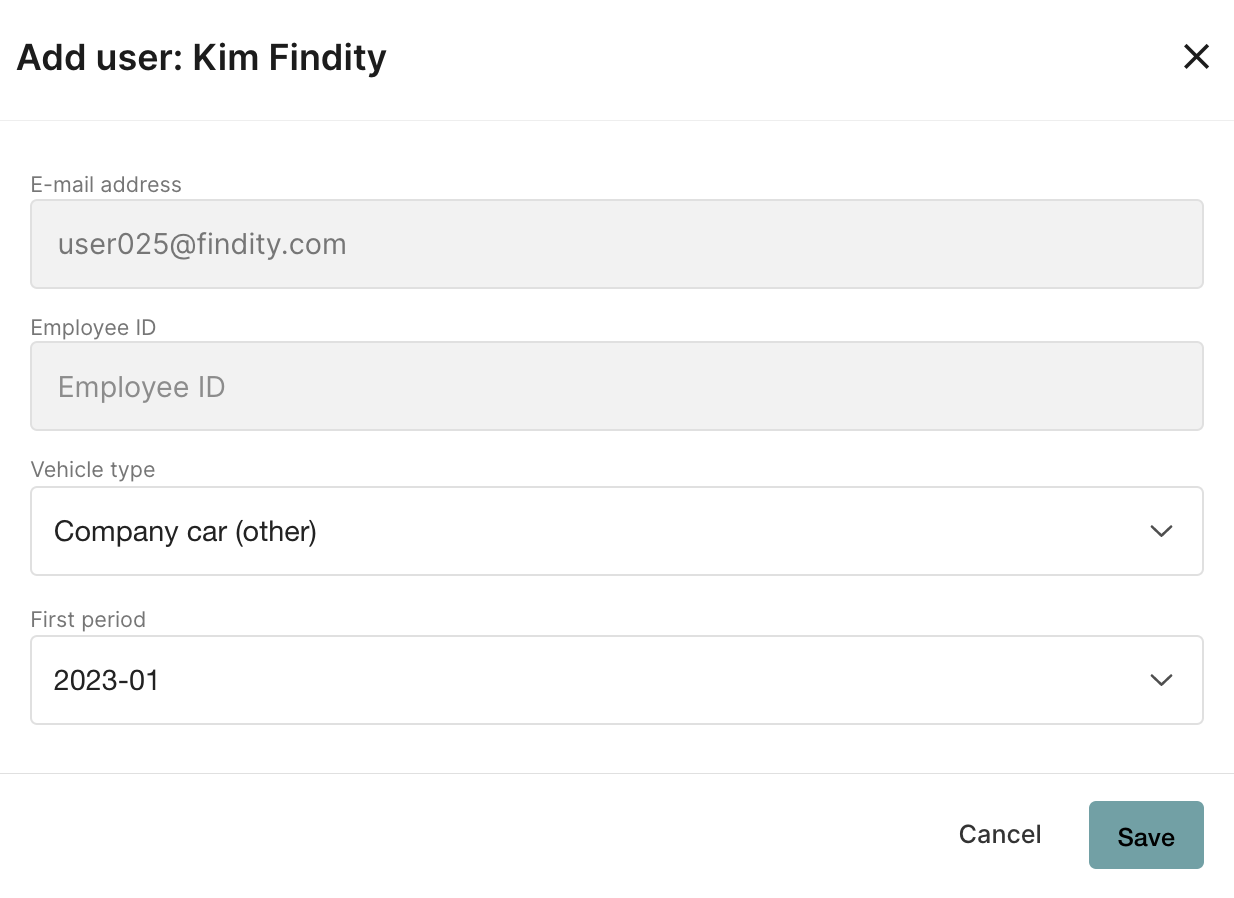
Select their Vehicle type and when the First period reporting fuel benefits is. Press Save.
Fuel benefit costs
The Fuel Benefit Costs tab is where the actual cost for fuel that your company has paid per user and period is reported. This means that you or another administrator must update the amount users are taxed on every month. For each user and period, in Fuel benefit costs, enter the amount. 
The settings are now complete.
Findity Expense will now automatically create expenses for fuel benefits from the selected
start period every month. Users can find them under Not submitted expenses. Users manage
their expenses by entering start and end meter readings for the period, and the number of
kilometers they have driven for work and then submitting their expenses.