"Edit more input fields" - settings for categories, dimensions and validations
Table of Contents
There is a function called Edit more input fields, which is useful when doing more advanced settings on expense categories, dimensions and so on. In this article we will go through some examples and instructions on what you can do with this function.
Make a dimension mandatory (for all expense categories or for one specific category)
1.2 Make a dimension visible only for one expense category
Hide the VAT-field on expense categories
Set a string validation on a field or dimension
Create new input field
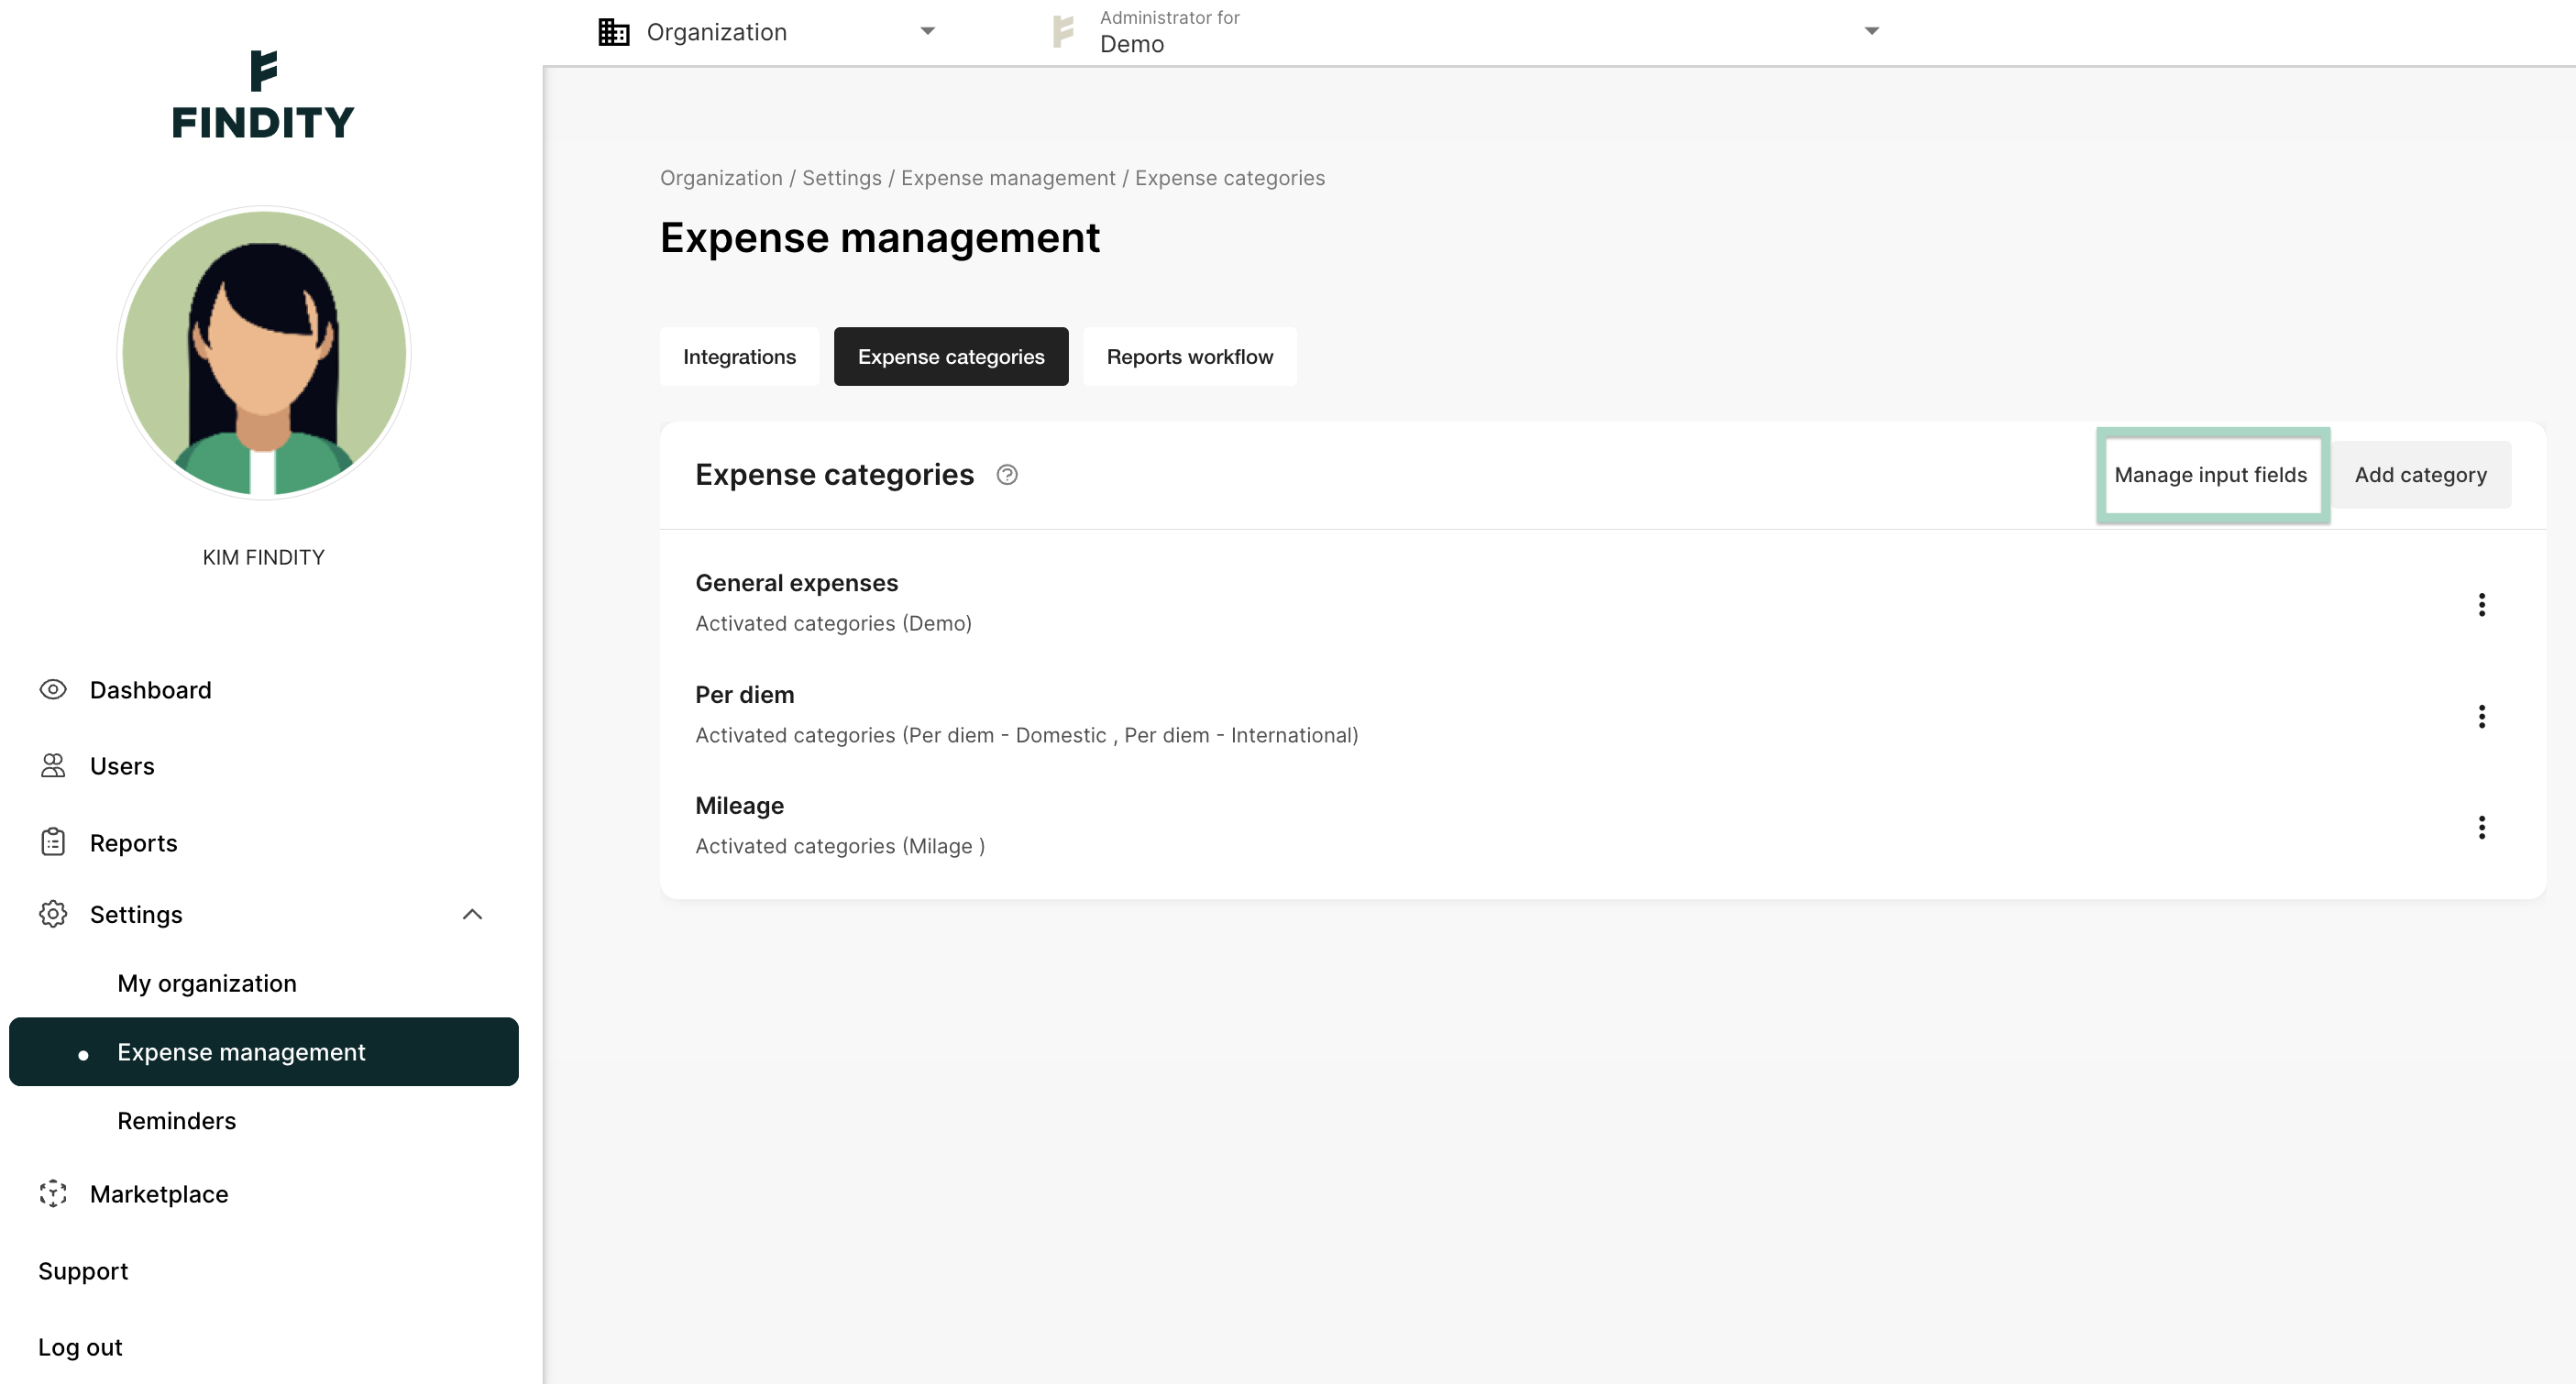
Go to Settings/Expense management/Expense categories and click on Edit more input fields.
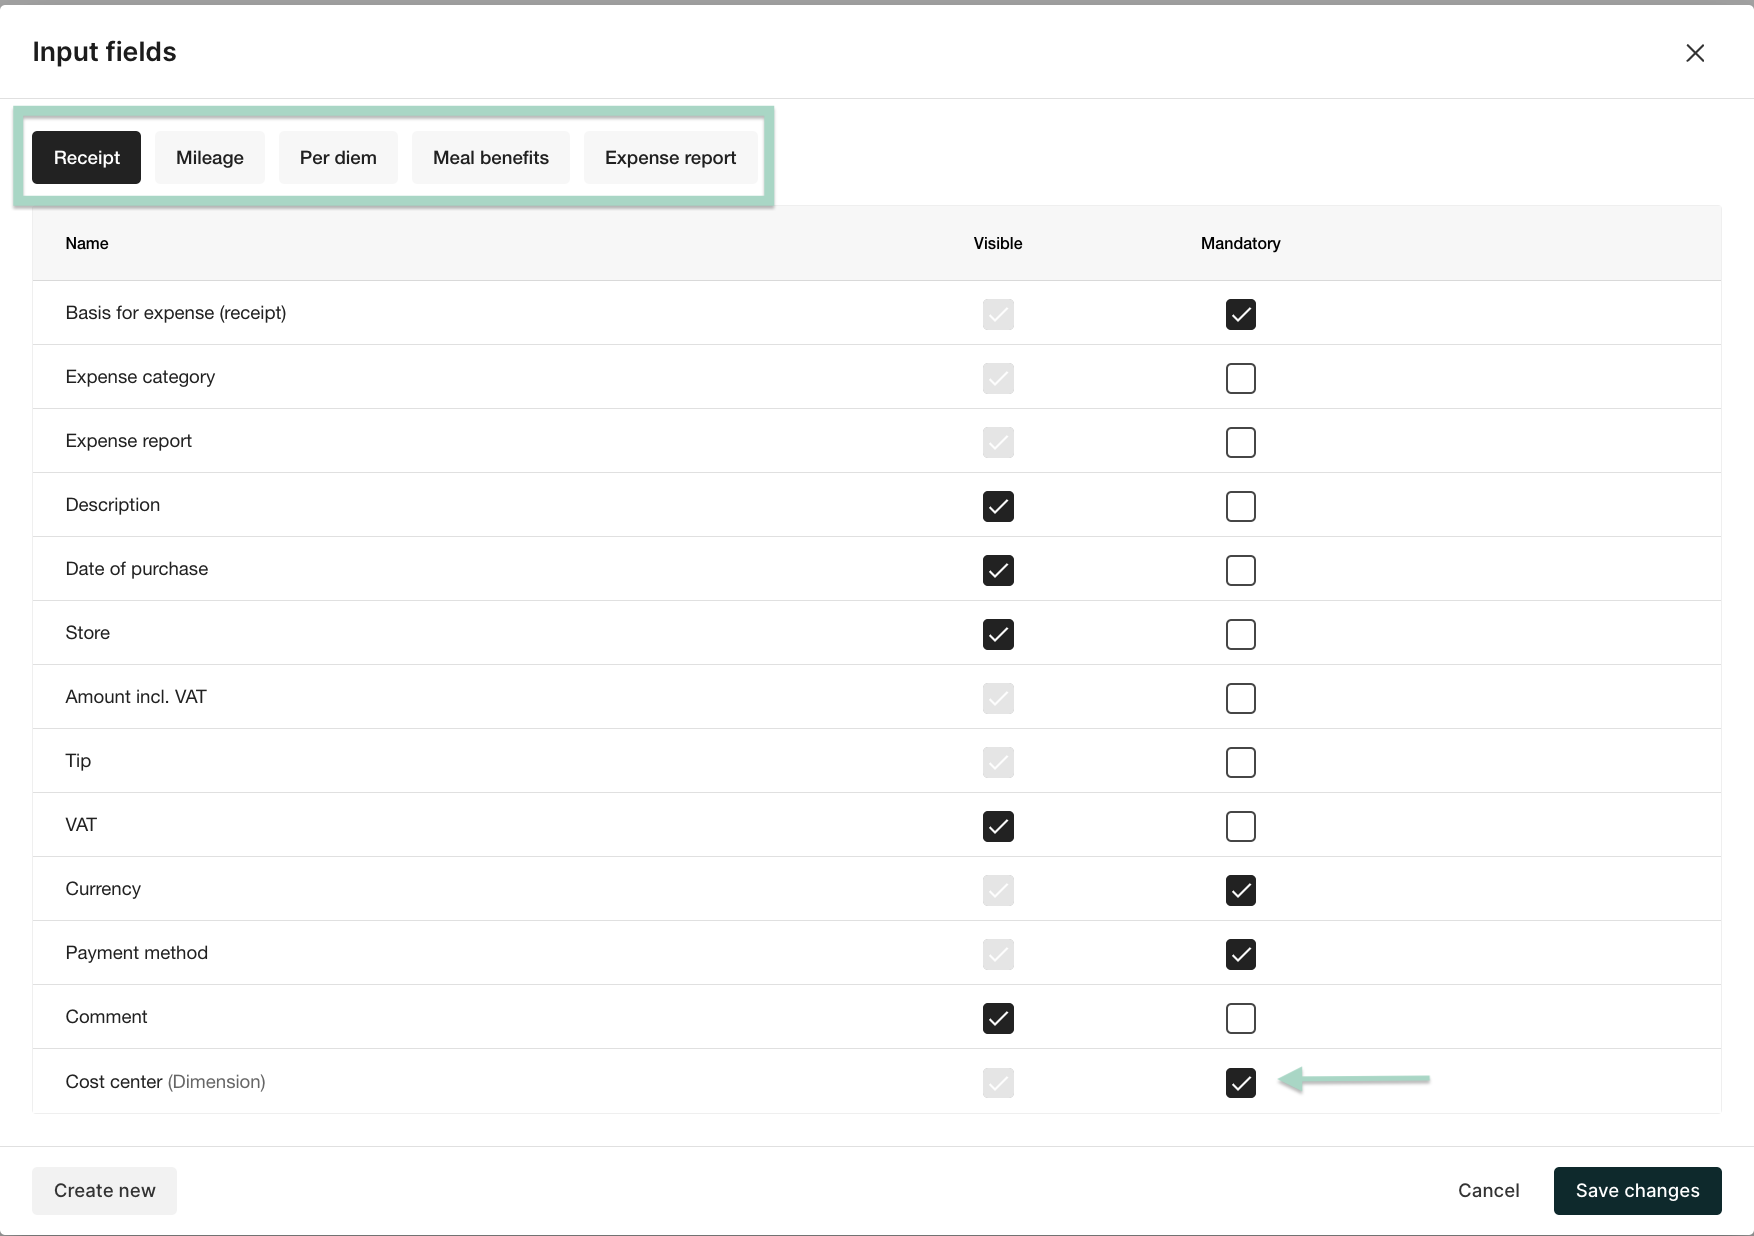
- If you want to make a dimension (for example Cost center) mandatory for the users, you can choose either to make it mandatory for all categories, or for a specific one.
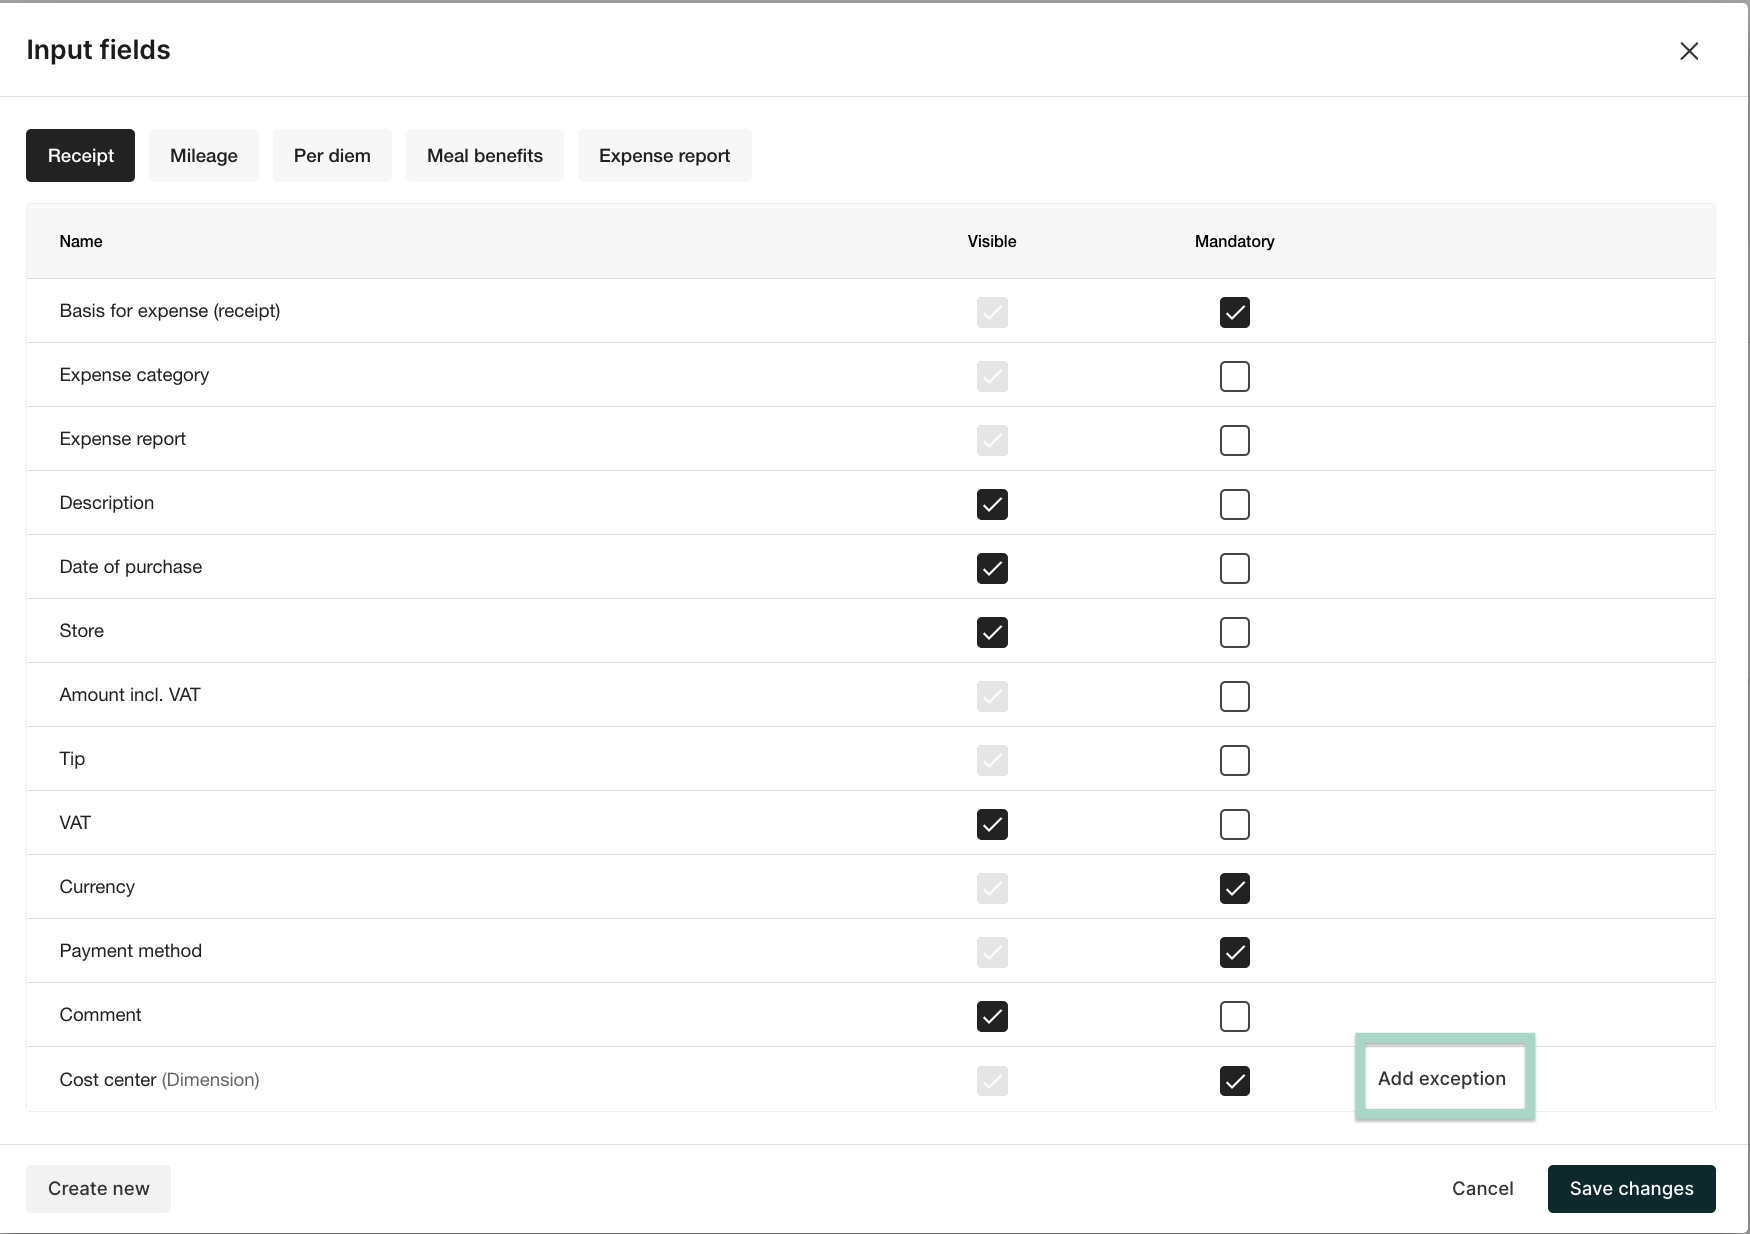
To make it mandatory for all expense categories you tick the box Mandatory to the right of the dimension. If you want it to be mandatory also for Mileage, Per diem and so on, you do the same thing in the respective tabs. Click Save changes.
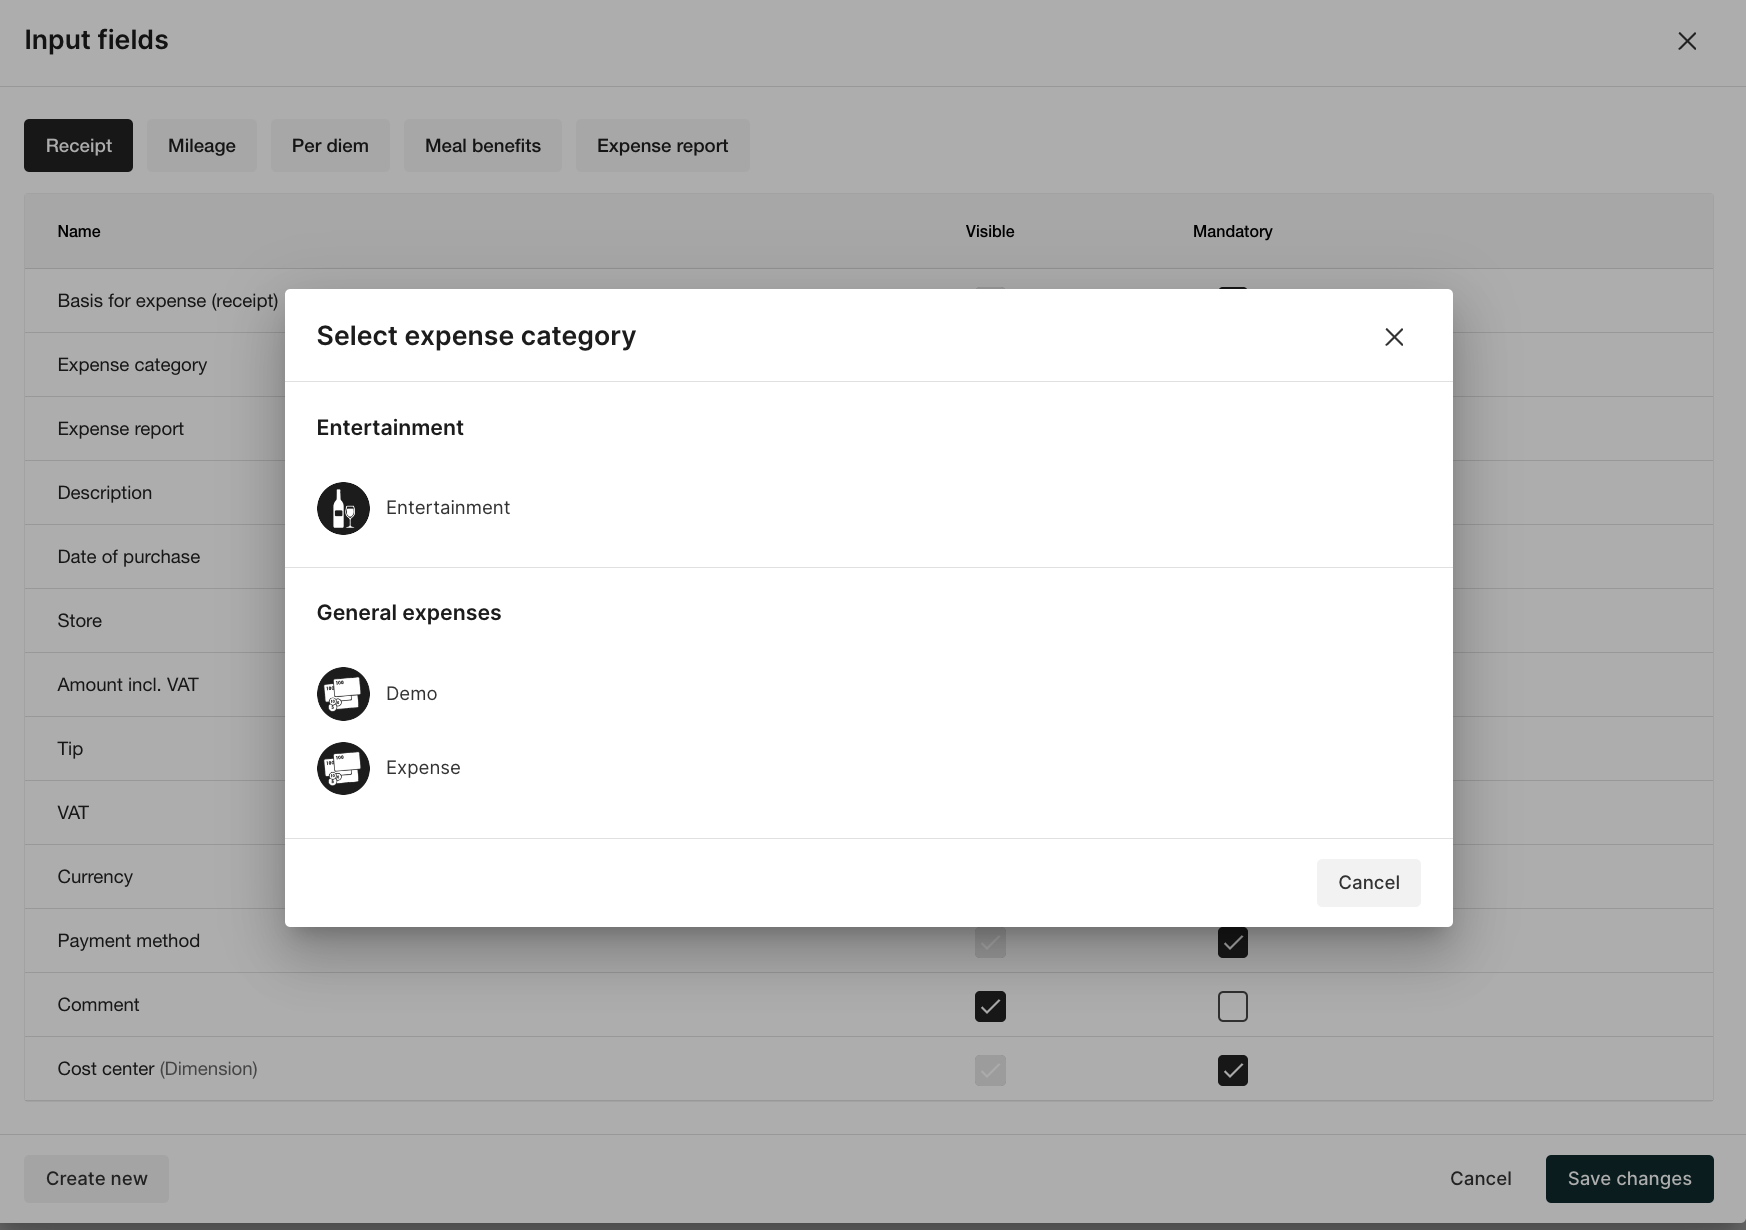
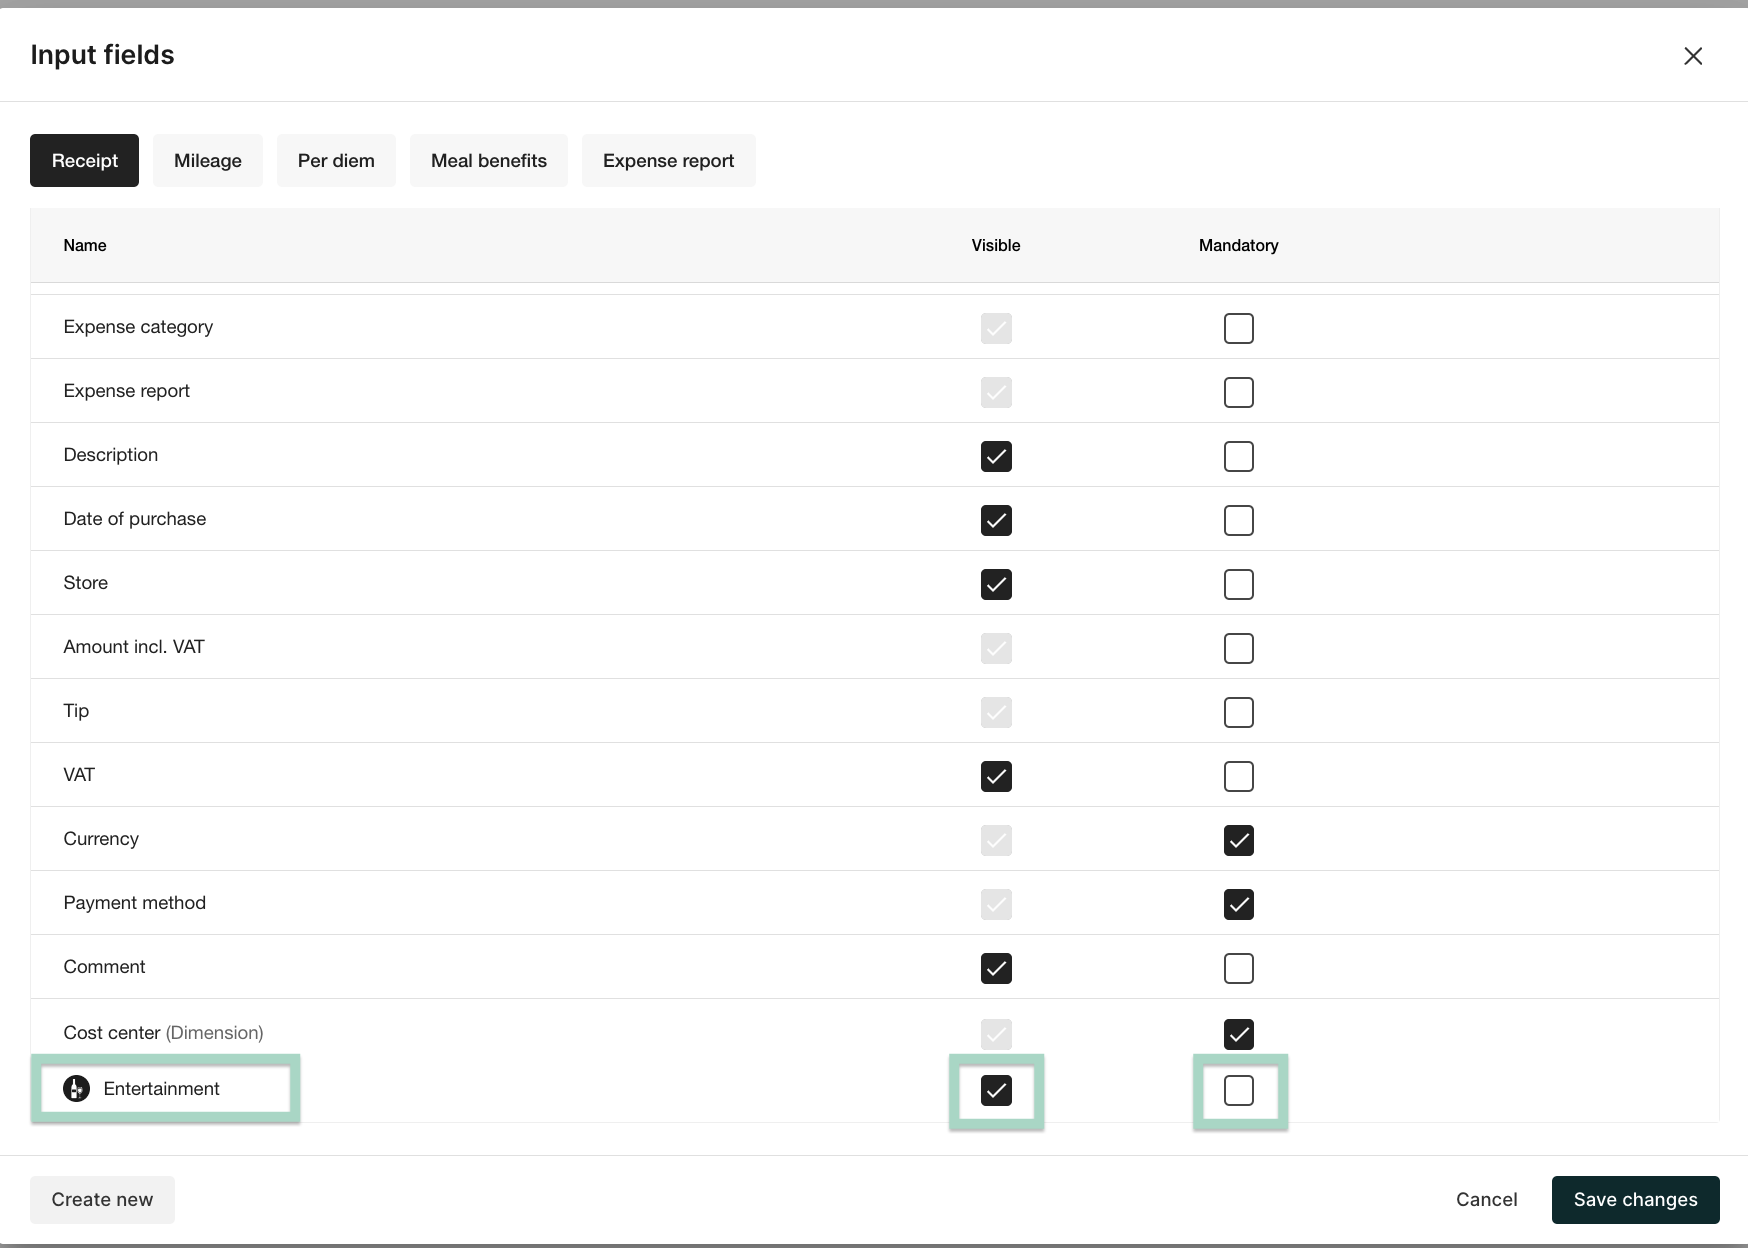
To make the dimension mandatory for one or some specific expense categories you hover to the right on the row of the dimension until you see Add exception. Click on it and select the right expense category. If you want to add several expense categories you click on Add exception again and select more categories.
Tick the box Mandatory for the selected expense category/ies. Click Save changes.
1.2 This process can also be done if you want a dimension to be visible only for one or some specific categories. In that case you instead tick the box Visible (to the left of the box Mandatory) on the categories that you have selected for the dimension. Click save.
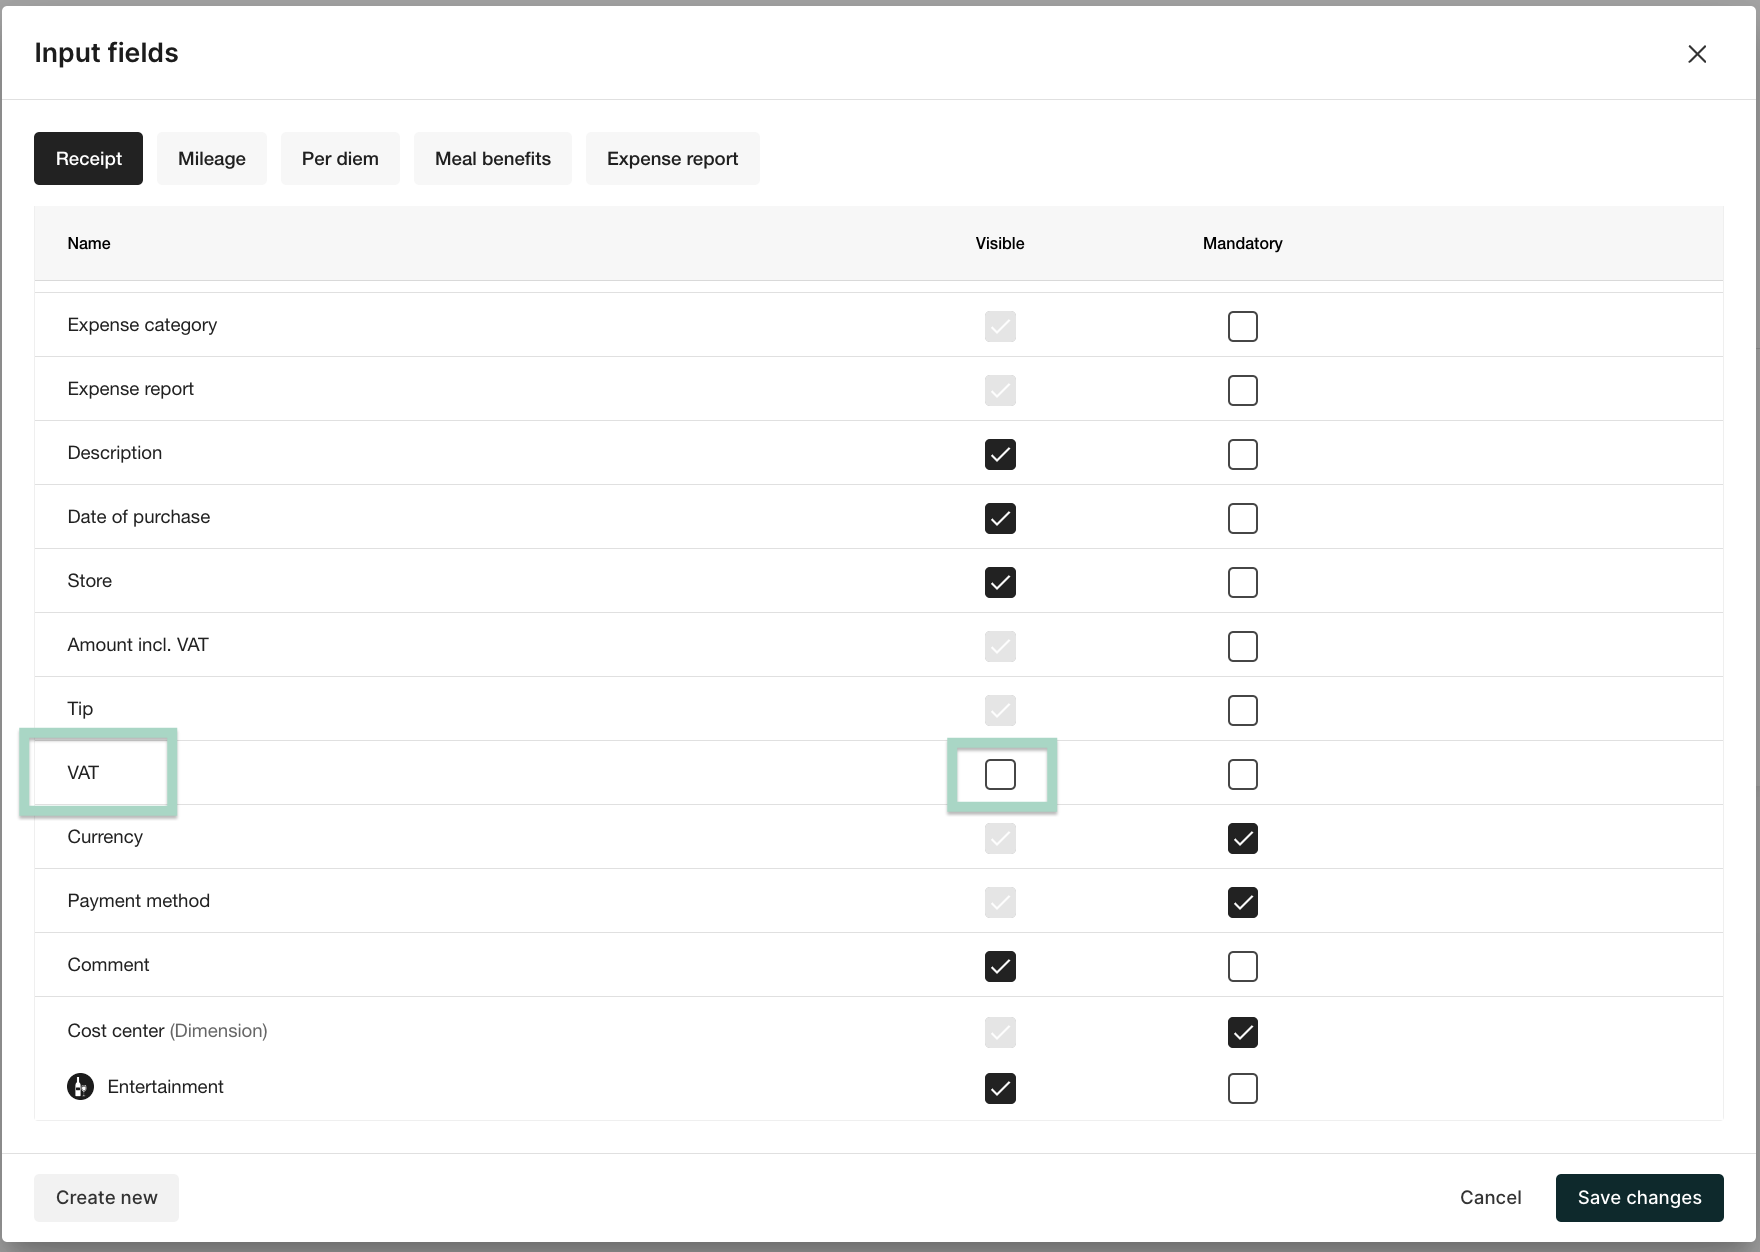
2. For organizations that are not VAT eligible, it is possible to hide the VAT field for the users.
Click on Edit more input fields, scroll down to the row VAT and tick off the box Visible. Click Save changes.
3. It is possible to set a String validation on a field, for example setting a minimum or maximum allowed length of the description field or a minimum or maximum allowed value of the amount field.
One example where it may be needed to set a string validation is when the Project-dimension has been set up as a free text dimension (for instance if there are often a lot of new projects in a company and it takes too much time to add them in the system). In this case you can add a string validation to make sure that the project number is specified the correct way by the user. For example you can control that the length of the number is correct. Also, you can add a message to the user if the validation fails.
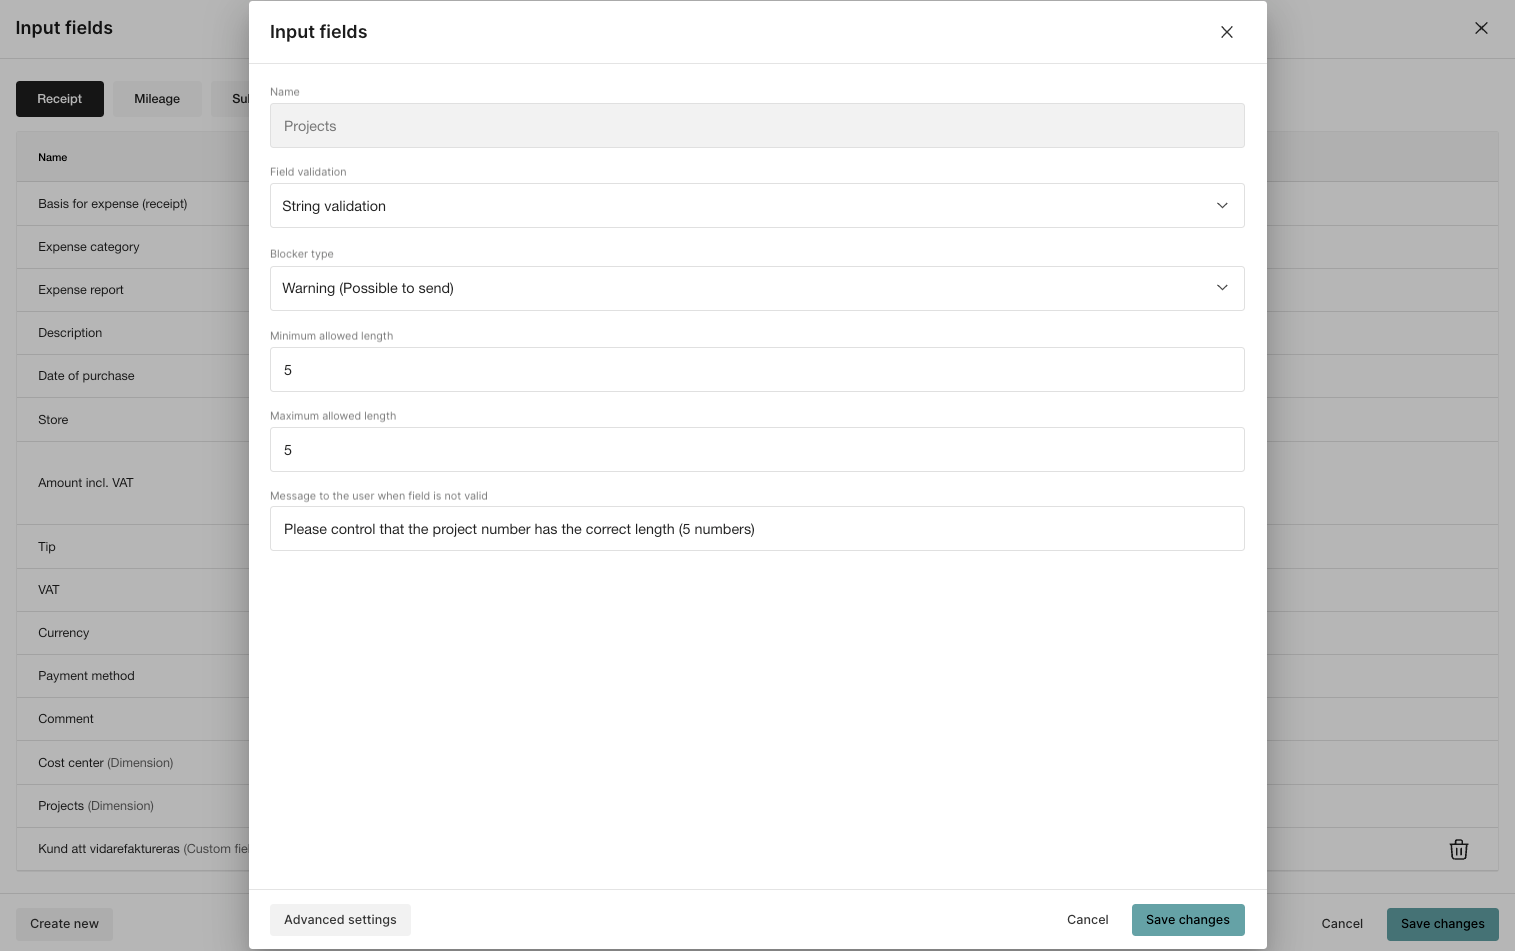
To set the validation, go to Edit more input fields and click on the field or dimension that you want to set a validation for. Click on the chosen row.
Choose String validation as Field validation. As Blocker type you choose Warning or Blocker, depending on wether you want it to be possible to send the report or not in case the field is not valid. Add a minimum and maximum allowed length. You can also add a message that will pop up for the user if the field is not valid. Click Save changes.
4. Create new input field
Click on the tab Settings - Expense management - Expense categories - Manage input fields. Choose to Create new.
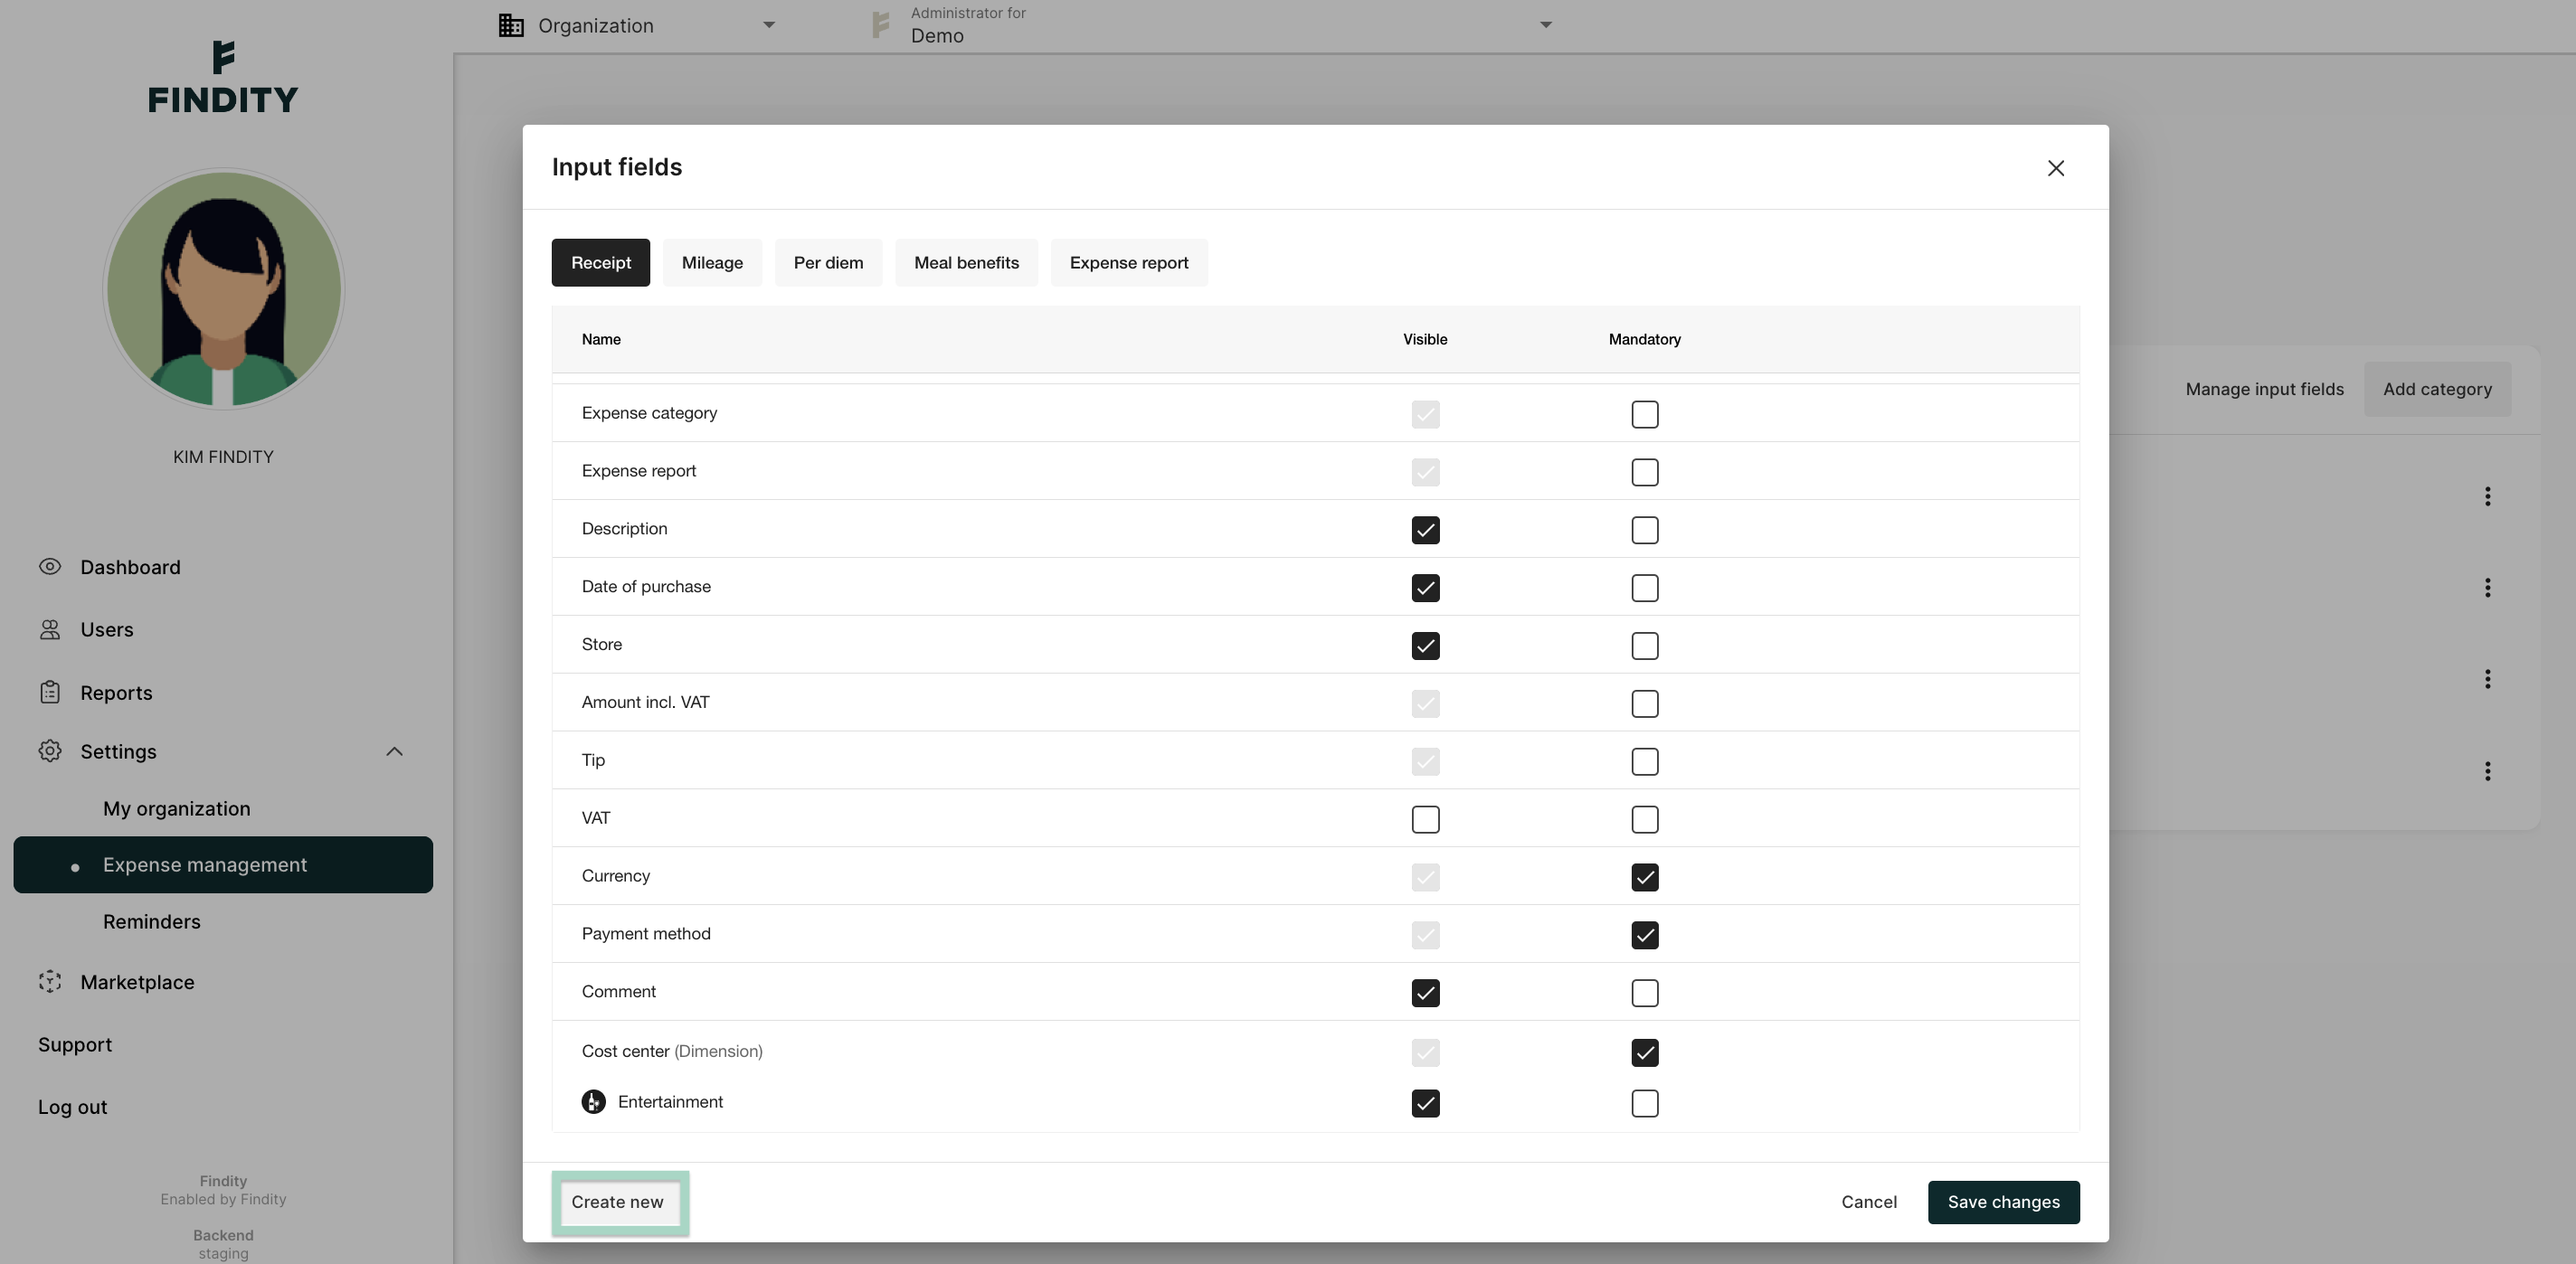
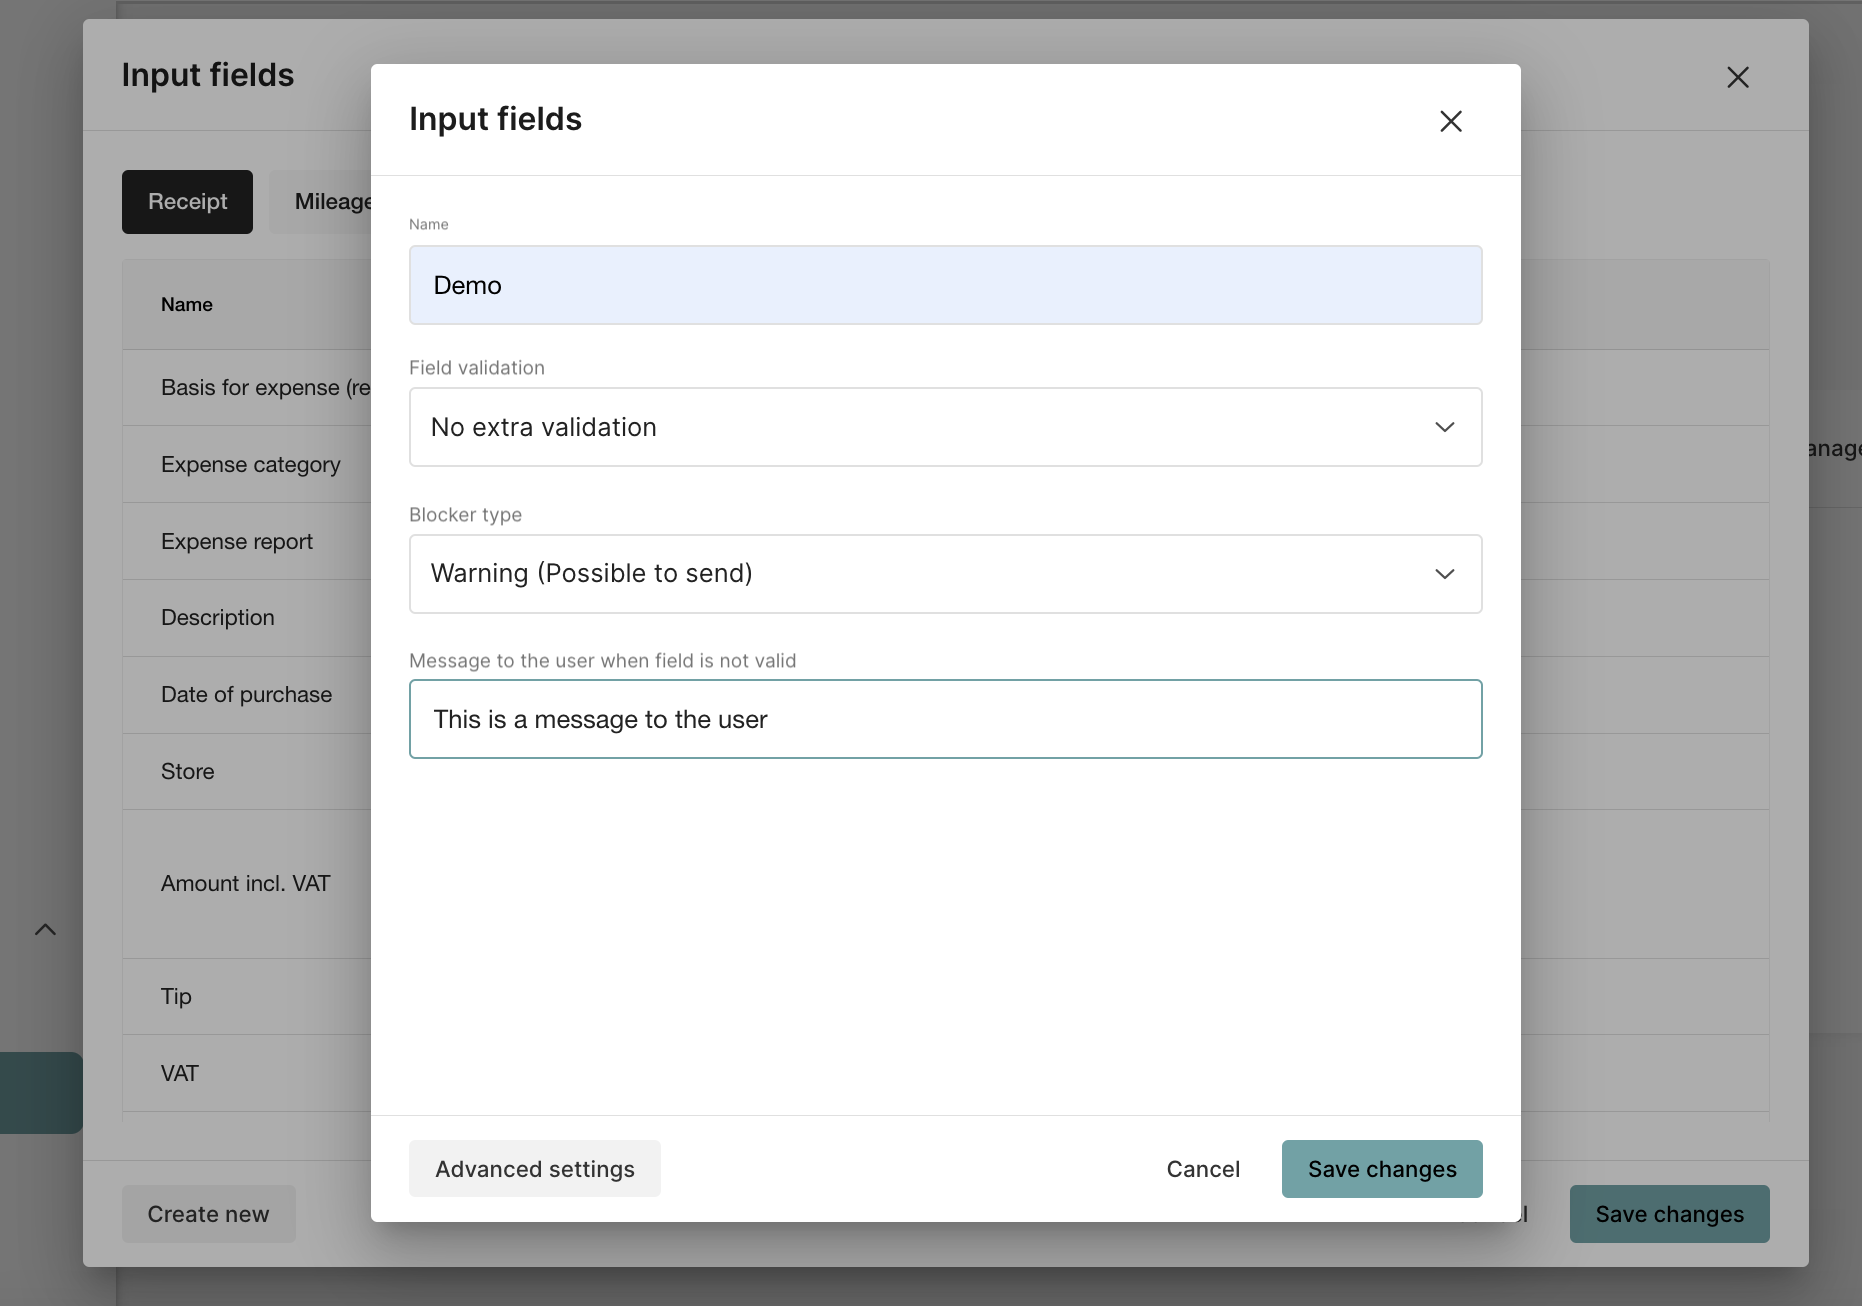
Add Name, Field validation, Blocker type and a Message to the user when the field is not valid. Press Save changes when you are done with your settings.
